Netgear EX3800 Setup
Want to boost the WiFi range of your existing networking device up to 750 Mbps? Do it with an EX3800 range extender brought in by Netgear which supports new 802.11ac and b/g/n devices. After performing Netgear EX3800 setup in your house, you need not worry about internet dead zones. Why? It is because this finest piece of technology by Netgear will take the charge of converting them into fun zones. This entire page focuses on different methods using which you can perform Netgear range extender setup for EX3800. Continue reading.
Methods to Set Up Netgear EX3800 Extender
Users can install their EX3800 range extender using three different methods. The names of the methods are as follows:
- WPS method
- Nighthawk app
- Manual method
Moving on, let’s shed light on the steps to do Netgear EX3800 using these methods. However, before everything else, consider unboxing your WiFi device and ensure that you’ve received a user manual with it. You can also get in touch with our experts to get personalized assistance with the setup procedure of your range extender.
Netgear EX3800 Setup | WPS Method
According to experts, the process of installing a Netgear range extender via the WPS method is easier than the other two methods. The reason being it only requires the user to push a button present on the hardware unit of the EX3800 range extender. What is that button and when to press it? Read the following steps to know.
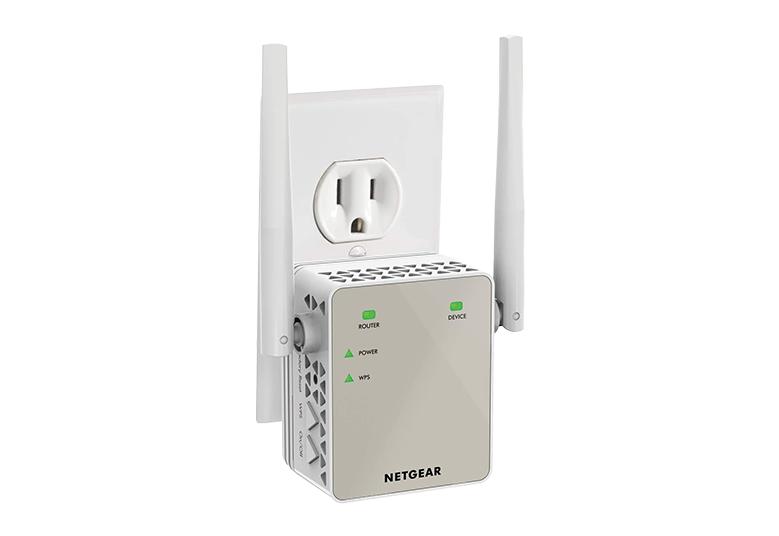
1. Plug-in Your EX3800 Close to Router
Right after unboxing, plug your Netgear EX3800 extender into a wall outlet near the main router and switch it on. Make sure that the chosen power outlet must be well-working at all costs. Otherwise, you won’t be able to complete the setup process due to an insufficient power supply.
2. Press the WPS Button
As soon as the LED lights of your extender settle, consider finding and pressing the WPS button on it. Thereafter, press the WPS button on your main router. The Netgear EX3800 setup process will get completed.
Netgear EX3800 Extender Setup | Nighthawk App
In case you’re unable to find the WPS button on your router for the EX3800 extender’s installation process, the Nighthawk app can help you make the device up and running.
Given below are the instructions that will help you install your Netgear EX3800 extender. Before starting the setup procedure, ensure that you’ve installed the latest version of the Netgear Nighthawk application on your mobile phone.
1. Connect EX3800 and Router
After powering up your Netgear range extender and router, consider creating a connection between them. For this, you can take the aid of a well-working Ethernet cable. But, make sure that the connection created by you is finger-tight.
2. Launch the Nighthawk App
Now, unlock your mobile phone and launch the Netgear Nighthawk application by tapping its icon. You’ll soon be prompted to create a Netgear account. Do it with the help of your email ID and password.
3. Input the Extender’s Admin Info
The next step in the Netgear EX3800 setup process is to input the extender’s default info. So, enter the default password and username wherever necessary and tap Sign In or Log In. The Status page or the BASIC Home screen of the range extender will appear. Here, walk through the on-screen instructions to complete the setup process.
Netgear EX3800 Setup | Manual Method
This method involves the use of the mywifiext.local or mywifiext.net web address which ensures sure-fire success with respect to the extender setup procedure. The initial steps of this method are as same as that of the Nighthawk app which demands you to power up your WiFi devices [Netgear EX3800 extender and router] and create an Ethernet connection between them. Once you’re done following those steps, you can follow the instructions given below:
1. Load an Internet Browser
Switch on your computer and open an already installed internet browser on it. But, make sure the web browser you choose is not running on an outdated software version. Additionally, it must be free of cache, cookies, and browsing history.
2. Log in to Your EX3800 Extender
The next step is to enter mywifiext.net [Windows OS] or mywifiext.local [iOS] into the browser’s address bar and press Enter. When prompted to insert the admin password and username, refer to the Netgear EX3800 extender user manual and input the default values into their respective fields. Select Log In.
3. Follow On-Screen Instructions
As soon as you select Log In, the next screen appearing before you will be the Netgear Genie setup wizard or the BASIC Home screen. Here, you will come across various prompts. Follow them to complete the Netgear EX3800 setup process.
How to Update Netgear EX3800 Firmware?
After completing the installation process of your EX3800 range extender, you are required to update its firmware. It will help your extender to stay equipped with the latest functionalities. Here’s how you can update your wireless range extender:
1. Perform Netgear EX3800 Extender Login
First of all, you need to log in to your range extender. Therefore, access 192.168.1.250 or mywifiext.net and input the extender’s admin info. Clicking the Log In button will take you to the Netgear extender setup wizard.
2. Locate the Firmware Update Tab
Now, select the Maintenance option and locate the Firmware Update tab. Clicking it will reveal the Firmware Update window. Now, select the Check Now button. Your EX3800 will detect if a new firmware version is available. If it is there, give all the on-screen instructions a shot.
This is how you can update the firmware of your Netgear EX3800 extender. However, it is not the only thing you need to do after completing the Netgear EX3800 setup process. You also need to change the extender’s admin password, WiFi password, and SSID and block unwanted traffic from its network. In case you need help regarding the management of your extender’s settings, consider contacting our experts right away.