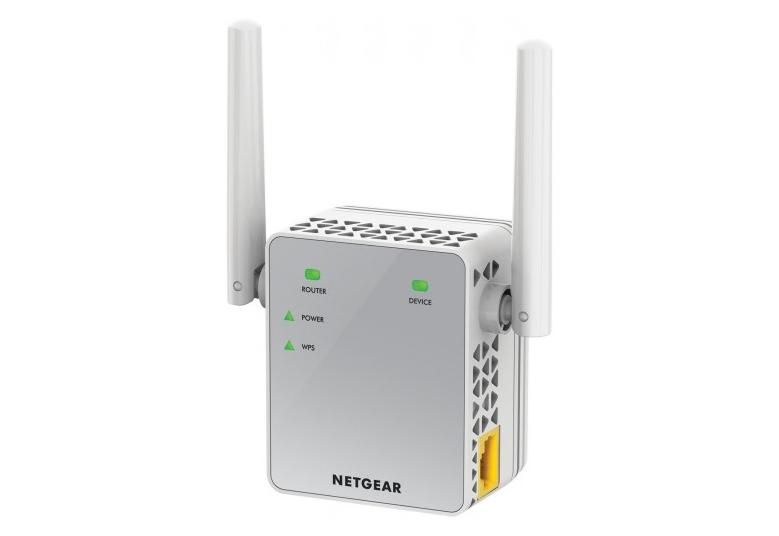
Netgear EX6110 Setup
Want to access a dual-band WiFi speed of up to 1200Mbps in every corner of your house? Do it with the Netgear EX6110 extender which houses powerful antennas to boost the wireless range of your existing networking gadget. The EX6110 wireless range extender utilizes FastLane Technology that helps the user to stream HD videos and play online games without any hitches. However, achieving all this requires you to perform Netgear EX6110 setup. In case you are a novice and need instructions performing setup of the WiFi range extender EX6110, this page consists of all that you need. Get down to the reading this instant.
Methods to Set Up Netgear EX6110 Extender
Without taking much of your time, we would like to make you aware of the methods to perform Netgear EX6110 setup. Here are the methods that can be used to go with the setup process:
- Nighthawk application
- Via Web GUI
- WPS method
Now, move to the sections given below and learn how to do Netgear extender setup via these three methods. However, we would like to inform you that you can take personalized help from our technical support team in case you feel stuck during the process.
Netgear EX6110 Setup | Nighthawk App
Today is the era of smartphones and everyone can be seen using them. The setup process of the Netgear EX6110 extender via the Nighthawk application involves the usage of the same. Therefore, refer to the instructions given below to learn how to use the Nighthawk mobile app to install an EX6110 range extender:
- Firstly, you are required to unbox your Netgear device and connect it to the power outlet.
- Pressing the Power button will turn on your EX6110 device.
- Create the extender-router connection now. You can use an Ethernet cable or wireless source.
- Unlock your mobile phone and ensure that it is completely charged.
- Get the Nighthawk app downloaded via the app store depending upon the OS of your mobile.
- Launch the app as soon as it gets installed on your phone.
- Creating a Netgear account is what you need to do next.
- Your email ID and password will help you do the same.
- Now, input the login details of your EX6110 range extender on the next screen.
- Tapping the Log In button will unlock the instructions to proceed further.
- Go through them and complete installing your Netgear WiFi device.
Right after you give a shot at the last instruction displayed on the dashboard of the range extender, the setup process will reach its end. After that, you can access the network of your Netgear EX6110 extender on your devices.
Netgear EX6110 Setup | Web GUI
Those users who want to set up their WiFi range extenders via a big screen can opt for the setup process using the web graphical user interface. This method involves the use of a laptop and computer. Following are the instructions that will assist you to install your Netgear EX6110 extender via the mywifiext setup wizard on a computer or laptop:
- Make arrangements as mentioned in the previous method. It involves powering up the EX6110 extender and connecting it to the main router.
- After that, switch on your computer and load an internet browser.
- Access mywifiext.net with the help of the address bar.
- You will soon cross paths with the administrative page i.e. Netgear extender login window.
- Key in the default password and username into the fields given.
- Click Log In and you will be taken to the Netgear Genie setup wizard a.k.a. BASIC Home screen.
- Walk through the on-screen prompts and let the setup process get completed.
Kudos! The Netgear EX6110 setup via the web GUI has been completed. Now, you can log out of your extender and start enjoying the newly extended network. However, if you are unable to complete the extender’s installation, know that the option of taking help from our technical support staff is always there.
Netgear EX6110 Setup | WPS Method
The WPS method of installing the Netgear EX6110 extender via the WPS method doesn’t demand the use of a laptop or a mobile. However, you need to ensure that the host router supports the WPS configuration. Take a walk through the steps mentioned below and learn how the WPS approach can be adopted for the installation of EX6110.
- Connect your Netgear device to a wall socket near the main router.
- Power up your WiFi devices after ensuring the working status of their respective sockets.
- Are the LED lights on your devices stable? If yes, read the next step.
- Find and push the button labeled “WPS” on your EX6110.
- Do the same with your host WiFi router.
- The setup process is completed.
This completes the Netgear EX6110 extender setup process via the WPS method. But, know that you will be able to get success with the setup process if your WiFi devices are sharing an appropriate distance. By this, we mean that your devices should neither be too close nor too far.
Need Personalized Assistance?
One out of three setup methods we’ve discussed on this page will help you install your Netgear EX6110 range extender. However, there might come a stage when you feel like needing help to proceed further. In that scenario, no other option of contacting our experts will be the best. We are saying it is the best because our experts are so trained that no problem related to the Netgear extender is unsolved by them. Be it related to Netgear extender login or Netgear EX6110 setup, our technicians have a solution to every problem. So, wait for nothing, and contact them!