Netgear EX6120 Setup
Not being able to perform Netgear EX6120 extender setup has created worry lines on the foreheads of many users out there. In case you are also unable to go about the process, then this is the guide for you. Here, we have talked about not one, not two, but three different methods through which performing Netgear EX6120 setup is possible. Thus, quit stalling and continue reading.
For your information, it is not a necessity that you need to try every method for configuring your networking device. After walking through this guide, whichever one you think will be the easiest to execute, you can implement that.
Netgear EX6120 Setup | WPS Method
Before you learn how to install the Netgear EX6120 wireless range extender using the WPS method, make sure that the host router is WPS-enabled.
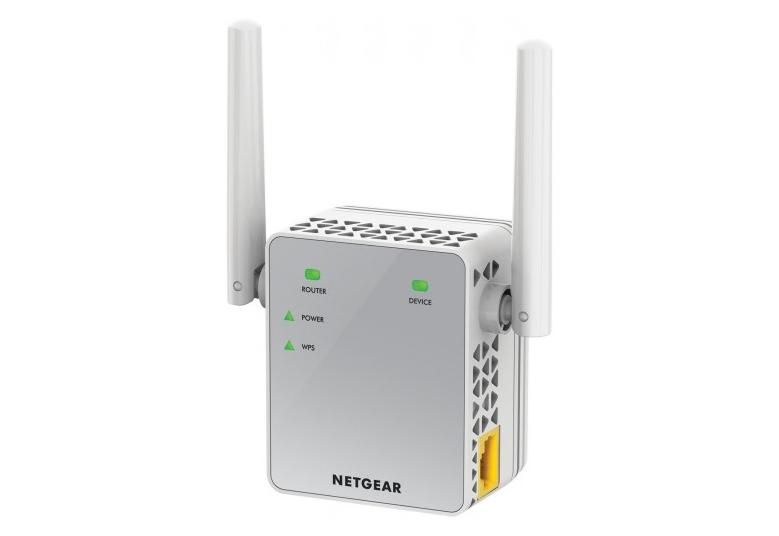
- Plug your Netgear EX6120 extender into a working wall socket.
- Press the power button.
- Wait for some time.
- Soon the LED will become green.
- Look for the WPS button on the EX6120 extender.
- Press it once found.
- Repeat the same step on the router.
- Hold on for a couple of seconds.
- Now, you need to change the location of the EX6120.
Ensure that your Netgear EX6120 extender is not being kept near electronic devices, transmitting appliances, metal objects, and reflexive surfaces.
Netgear EX6120 Setup | Manual Method
In case you are using Windows, use mywifiext.net and if you are the owner of a MAC device, then accessing mywifiext.local would be feasible.
- Commence the Netgear EX6120 setup process by powering up your extender.
- Thereafter, create a strong connection between the networking devices.
- Switch on your computer or laptop.
- Open an internet browser like Google Chrome, Apple Safari, etc on it.
- In the URL field, insert mywifiext.net or mywifiext.local.
- Press the Enter key.
- In the blink of an eye, the Netgear EX6120 extender login page will appear.
- Input the default admin login credentials into their fields.
- Hit Log In.
- The Netgear Genie smart setup wizard will appear.
- Walk through the on-screen prompts.
Follow the prompts in the same order as they have been given. This applies even if you are performing Netgear AC1200 wifi range extender setup.
Netgear EX6120 Setup | Nighthawk App
If you are using an Android, go to the Play Store to download the Nighthawk app, and in the case of an iOS device, accessing the App Store is recommended.
- Unlock your mobile device.
- In case you have not downloaded the app yet, do so now.
- Once the Nighthawk app has been installed, launch it.
- Create a Netgear account with the help of your personal details.
- Perform Netgear EX6120 extender login.
- That can be done using the default password and username.
- The BASIC Home screen will pop up.
- Take a walk through the instructions mentioned on the screen.
Although you will be able to perform Netgear EX6120 setup with ease after going through these methods, in case you are not able to, contact our experts.
If you are one of those users who would rather resolve the problem on his or her own, then refer to the troubleshooting steps mentioned in the following section.
How to Troubleshoot Netgear EX6120 Setup Issues?
1. Check the Power Supply
The number one reason why users experience issues while trying to setup Netgear EX6120 wireless range extender is because the device is not getting an adequate power supply from its wall socket. If there is any possibility that you are not able to setup Netgear EX6120 because of the same reason, then you have got to plug your networking device into some other wall socket.
2. Replace the Ethernet Cable
The Ethernet cable that you have used to connect the Netgear EX6120 wireless range extender is supposed to be damage-free. But, it looks like you did not take care of this thing before getting down to the EX6120 setup process. To rectify your mistake, consider using a new Ethernet cable to connect the networking devices. In some time, you will be able to get your device up and running.
3. Use the Correct Login Credentials
Only make use of the correct login credentials while performing Netgear EX6120 extender setup. Although you will find the credentials written on the label located at the bottom of the device, in case you do not, then refer to the manual that you might have gotten at the time of purchase. You can trust us on that with blind eyes.
Although after following these troubleshooting hacks, you will be able to perform Netgear EX6120 setup with ease, on the off chance, luck still has not kissed your feet, consider getting in touch with our technical experts. They will surely be able to help you setup Netgear EX6120 extender in a happy-go-lucky manner.
Do you not want to do that again? Well then, setting up the Netgear EX6120 wireless range extender using the default IP address, i.e. 192.168.1.250 is advised.