Netgear EX3920 WiFi Extender
Netgear EX3920 WiFi extender (AC750) helps to boost the existing WiFi network coverage and speed in your home. It is a dual-band extender that can cover up to 120 sq. ft. area. Netgear EX3920 extender is easy to set up with the existing home network. On this page, you will find information about the Netgear AC750 setup, its features, EX3920 firmware update and also how to do Netgear extender reset.
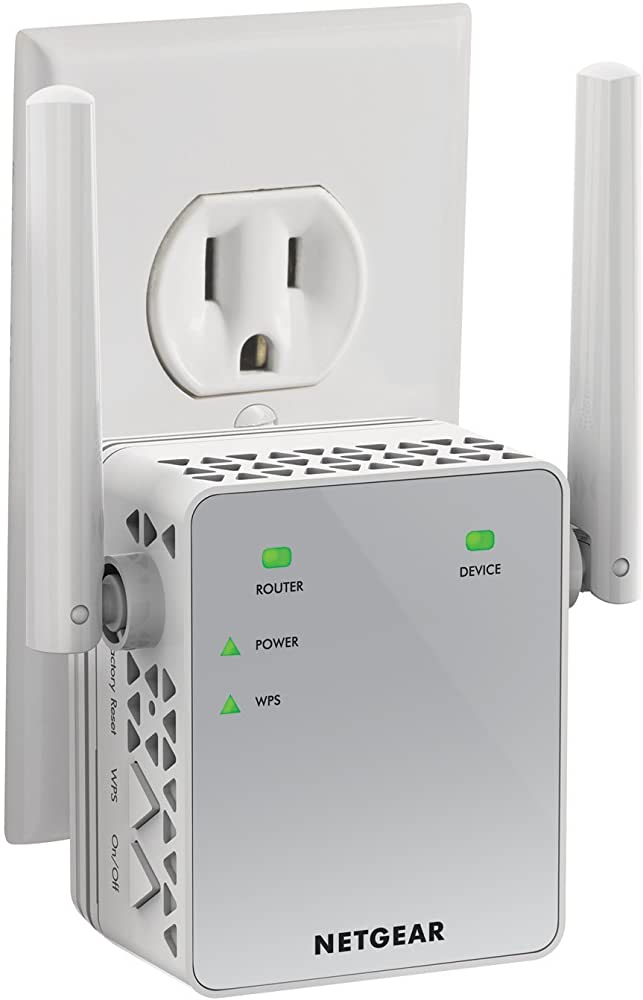
Netgear EX3920 WiFi Extender- Key Features
- Dual band WiFi up to 750Mbps
- Supports 802.11ac & b/g/n WiFi devices
- Convenient wall-plug design
- External antennas
- Easy Push N Connect setup
- Compatible with any router
How to Set Up Netgear EX3920 Extender?
As mentioned earlier, setting up a Netgear EX3920 extender is an easy task. WPS setup is just a one-button push setup. Apart from this, you can set it up using a web browser where in you need to access the login page using the web address mywifiext.net or the default IP address 192.168.1.250 on your PC. Netgear mobile app (Nighthawk App) can also be used to set up the extender. Take a look at the quick instructions to set Netgear EX3920 WiFi extender.
WPS Button Setup
- Place the Netgear EX3920 extender near the host router.
- Turn both devices on.
- Press the WPS button located on the Netgear extender.
- Thereafter, press the WPS button on the host router.
The devices are connected and the setup is completed using the WPS(Wireless Protected Setup) method.
Web Browser Setup
- Ensure that the Netgear WiFi range extender is placed in the same room as the router.
- Connect the devices using an Ethernet cable.
- Ensure making a solid connection between the two.
- Turn both devices on by connecting them to power sockets.
- Take hold of your computer now and load an internet web browser on it.
- Head towards the URL bar and type login web address mywifiext.net with zero spelling errors.
- Hit the Enter key.
- You will reach the Netgear extender login page.
- Input the default login credentials in the given fields on the screen displayed in front of you.
- Clicking on the Log in button will reveal the Netgear extender setup page to you.
- Execute the instructions displayed on the screen in front of you to complete the Netgear WiFi extender EX3920 setup process.
Nighthawk App Setup
- Grab your phone and unlock it.
- Go to App Store or Play Store
- Download the Nighthawk app from here.
- Launch it when it is installed.
- Log in to it using the default login details.
- Follow the instructions till you get a message on the screen that the Netgear extender setup is completed.
How to Update Netgear Extender EX3920 Firmware?
After you have completed the Netgear WiFi extender setup, you should update the firmware on your extender. For this, you need to first access the Netgear extender settings and see if there is an update ready to be made on your device. If there’s one ready for you, then get it installed on your device right away. Use the instructions highlighted below to do the Netgear EX3920 firmware update:
- Ensure that the extender is turned on and connected to the router.
- Download the latest firmware file for EX3920 and save it on your PC.
- Visit the Netgear extender admin dashboard by logging in to the extender.
- Click on the Firmware Upgrade option.
- Thereafter click on the Browse button option.
- Navigate and select the firmware file saved on the PC by clicking on it.
- Click on Upload and the firmware will be installed on the extender.
How to Reset Netgear EX3920 WiFi Range Extender?
Often times you may need to reset your Netgear EX3920 WiFi extender. If you forgot the admin login password or you are trying to troubleshoot some serious issue with the extender, or you are just not happy with the current extender settings. All these situations may force you to reset your device and restore the factory default settings. But to reset it you should know the process. Here are the instructions that you can put to use to reset your Netgear EX3920 WiFi range extender.
- Connect the Netgexr EX3920 to a power source to turn it on.
- Press the button labeled Reset on it.
- The extender is reset to the factory settings now.
As the current settings have been erased, you need to set it up again. Access the Netgear extender setup page using mywifiext.net or the default IP address and complete the setup process. You can also use the WPS button method to do the task at hand.
Need Further Assistance?
In case you are stuck with the Netgear EX3920 WiFi extender setup or need help troubleshooting any issue then reach out to our experts.