Netgear EAX50 Setup
Given on this page is the information that will not only help you complete the Netgear EAX50 setup but will also assist you update the device firmware, change its password, and perform a factory default reset. All in all, you can consider this page as the Netgear EAX50 user manual. Read on.
How to Set Up Netgear EAX50 Range Extender?
Setting up an EAX50 range extender is not a very difficult task. It just needs you to press the extender’s WPS button followed by the pressing of the router’s WPS button. Just in case, you don’t own a WPS-authorized router, use the below instructions for setting up the range extender via mywifiext.net
- Connect your EAX50 to an available electrical outlet in the same room where you have plugged your WiFi router.
- Restart your router and switch on the Netgear extender after that.
- Open WiFi settings on your WiFi-enabled computer or laptop and find the extender’s default SSID i.e. Netgear_EXT.
- Using the WiFi password given on the product’s label, you are suggested to connect to the EAX50 extender’s WiFi network.
- Go to mywifiext.net using a web browser now.
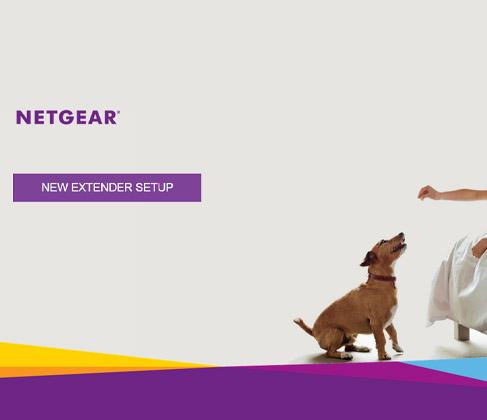
- This will take you to a New Extender Setup page.
- Click the button available on that page and you will be prompted to accept the terms and conditions of using the extender.
- After agreeing to the user license agreement, a network scan will occur where you have to select the main router’s WiFi network and enter its network key.
- Now, walk through the on-screen prompts to complete the Netgear EAX50 setup process.
In this manner, you can complete the setup process of an EAX50 range extender using the manual method. Just in case, you are not able to access mywifiext.net, chances are that you are using a Mac device. In that scenario, use mywifiext.local for the setup process. If setup problems continue to arise, reset the extender.
The Netgear EAX50 WiFi range extender can also be installed with the help of the Netgear Nighthawk app. You can find the link to download the app at nighthawk-app.com.
How to Reset Netgear EAX50 Extender?
Resetting the range extender will erase every customized setting and you will be able to set up your device once again. The steps to perform Netgear EAX50 reset are given below:
- Ensure that your extender is not connected to any device.
- Once ensured check all sides of the extender and find its Reset button.
- Using a sharp object press the Reset button on your EAX50 very carefully.
- Holding the button for 7 seconds will complete the factory default reset process.
This is how you can complete Netgear extender reset for your EAX50 WiFi extender. You can set it up now with the help of the web GUI, the WPS method, or the Nighthawk mobile app.
How to Improve Performance and Security of EAX50?
In order to improve the performance and security of your Netgear EAX50 WiFi range extender, you have to update the firmware and change the admin password. However, it can’t be done until you complete Netgear extender login via 192.168.1.250 IP address.
For Netgear EAX50 Login
Access the EAX50 login IP address > Input the password you’ve set for your range extender > Click Log In
| Updating the Firmware | Changing EAX50 Admin Password |
|---|---|
| Go to Administration. | Select the Administration option. |
| Select Firmware Update. | Click Login Password. |
| Click Check Now and your EAX50 will start examining if a new firmware version is available. | Enter the new password in the New Password field and re-enter it into the Confirm Password field. |
| Follow the instructions to update the firmware. | Click Save. |
This is how you can change the password and update the firmware of the Netgear EAX50 extender. Use the new password of the range extender for future logins. The same steps can be followed to change the network settings like the default SSID i.e Netgear_EXT of the extender so that you can make the most of your home network.