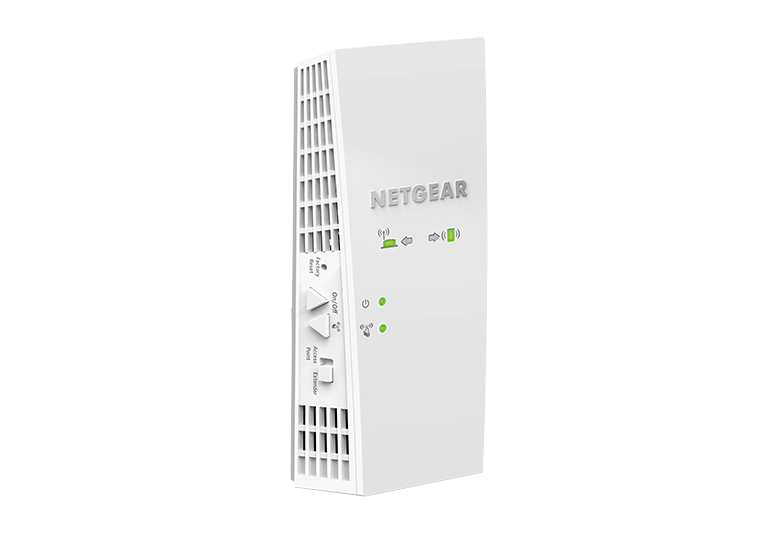
Netgear EX7300 Setup
Netgear EX7300 wireless range extender is the most wanted networking device these days by people who want to make their devices access a seamless internet connection. If you too are one of those people, then thankfully, you have been redirected to the right post. Here, we have talked about how one can perform Netgear EX7300 setup in a happy-go-lucky way.
Netgear EX7300 Setup [Prerequisites]
We do not want to scare you by telling you that many users experience issues while trying to configure the Netgear EX7300 extender. To ensure that you do not get stuck in the same web of issues, we have mentioned certain points in this section. If you keep them in mind, there is no way that you will come across setup issues.
- Ensure that the wall socket is not damaged.
- Keep a damage-free Ethernet cable close.
- Avoid not placing the Netgear EX7300 in a room filled with electronic devices.
- Have access to the default admin login password and username.
- Make sure that the web browser installed on your device is updated.
Now, you can walk through the next sections in order to learn how to perform Netgear EX7300 setup using different methods.
Netgear EX7300 Extender Setup [Methods]
WPS Method: In this method, you ought to simply press a button named WPS. Just make sure that the router which you use in this method is WPS-enabled.
Manual Method: The manual method is known to be the longest setup method but many users prefer using it due to its easy-to-understand nature. It requires the use of mywifiext.net.
Nighthawk App: Last, but not least, if you want to perform Netgear EX7300 extender setup using your mobile device, you need to make use of the Nighthawk app.
Netgear EX7300 Setup [WPS Method]
1. Turn On the Netgear EX7300
Unwrap your Netgear EX7300 range extender. Once done, make a connection between it and the wall socket. After you press the power button, you will see the LED turn solid.
2. Press the WPS Button
Locate the WPS button on the wireless extender. The location of this button varies from extender to extender. So, look at every corner. Once you find it, press it. Do the same on the router. It is recommended that you hold on for some time.
Netgear EX7300 WiFi Extender Setup [Manual Method]
1. Plug in the Netgear Extender
Start the process by plugging your Netgear EX7300 wireless extender into a wall socket. Right after that, press the power button. Within a couple of seconds, the power LED will become solid. This is a sign that you ought to go through the next step.
2. Connect the Networking Devices
Create a connection between the networking devices, as in the Netgear EX7300 and the host router. You can do so either using the Ethernet cable or a wireless source of connection. While doing so, ensure that both devices are kept close to each other.
3. Access the Default Web or IP
Gain access to a laptop and load an internet browser. Ensure that it is clear of cache and browsing history. Next, go to the URL field and enter the default web address of your EX7300 extender. You can also use the default IP address, i.e. 192.168.1.250. Press the Enter key.
4. Perform Netgear EX7300 Login
Before you can even blink an eye, you will be taken to the Netgear EX7300 Wireless Range extender login page with two fields located on it. Enter the username under its field. Do the same with the password of your networking device. Click on the Log In button.
5. Follow the On-Screen Guidelinesw
Once you are on the Netgear EX7300 setup wizard, go through the instructions mentioned there. Doing so will help you to wrap up the setup process using the manual method.
Setup Netgear EX7300 Extender [Nighthawk App]
1. Search for the Nighthawk App
Unlock your mobile device and make your way to the Google Play Store or the Apple App Store. But, before that, ensure that the device is accessing Netgear_ext. The store that you go to totally depends on the device that you are using. Thereafter, search for the Netgear Nighthawk app.
2. Download the Netgear App
From the list of results, select the app and tap on the Download button. Wait for the installation process to come to an end. Avoid performing any background activities while that is happening. Otherwise, you will experience issues in the future.
3. Create a Personal Account
Launch the app and create a Netgear account. Right after that, log in to the Netgear EX7300 wireless range extender with the assistance of the default admin login credentials. Take a walk through the on-screen instructions.
Need Assistance?
After following the guidelines mentioned in this post, you will surely be able to perform Netgear EX7300 setup with ease. On the off chance, you still experience issues; you ought to get in touch with our well-versed technical experts without giving it a second thought. They will surely be able to help you out.