Netgear AX1750 Extender Setup
Netgear AX1750 WiFi extender is a networking device that can beef up your existing WiFi coverage and provides excellent WiFi signal quality in hard-to-reach areas of the house. It can be hooked up with any standard WiFi router and perfectly works during HD video streaming as well as online gaming. If you are looking for the configuration process of it, then you are in the right place. In this write up, we are going to cover the manual method to install the extender in a hassle-free manner. We also cover some information about firmware updates so that you can use the device properly and get the best services from it. So, let’s start!
Method to Configure Netgear AX1750 Extender
Here, we tell you about the manual method steps to perform Netgear WiFi extender setup. All the steps are very easy to perform. You just need to keep them in mind while setting up the device:
- To begin, unbox the brand-new Netgear AX1750 extender and take a small check to ensure you get the right device.
- Look for a suitable place for the extender near the host router.
- Thereafter, you need to attach the antennas on the extender if available.
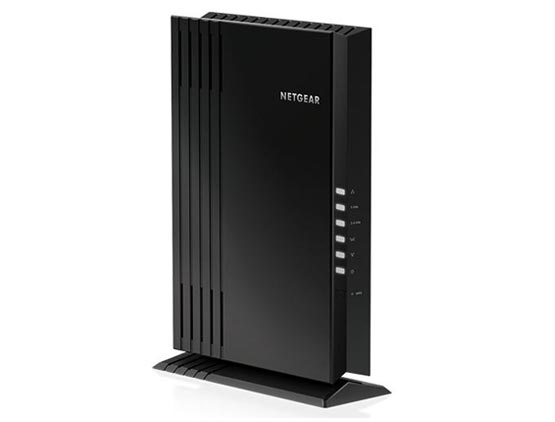
- Now, plug it into the working power socket which supplies the error-free electricity to the device.
- Press the start button until the light is blinking.
- Take the Ethernet cable and connect the extender to the host router for the internet connection.
- Power up the computer or laptop.
- Open the updated internet browser on the device that you want to use for the installation process.
- Access the default web address of the extender.
- For this, insert the URL into the URL bar of the browser without making typos.
- Thereafter, press the Enter key.
- Now, the login panel of the Netgear AX1750 extender appears in which you need to fill in the default credentials.
- Click on the Log In button.
Now, the Netgear AX1750 extender setup wizard will open, in which you need to follow the on-screen prompts to complete the installation process.
Once you complete the prompts, you will get the extender’s installation successful.
This is how you can setup your extender by accessing the www.mywifiext.net. Now let’s, move to the next section in which we’ve discuss some common issues related to extender setup.
Common Issues During AX1750 Extender Setup
- Extender facing issues connecting with router network.
- Mywifiext.net refused to connect.
- Unable to access the IP address of the extender.
- The extender is not enlisted into the network name.
- Extender keeps going offline.
These are the most common issues that usually many users of Netgear extender face during the configuration process. If you want to fix them, then read out the troubleshooting tips mentioned in the further passage.
Troubleshooting Setup Issues
Check the Power Supply
Giving a fluctuation-free power supply to the extender is very important. If your device does not get a sufficient power supply from the socket, then it leads to many problems during the setup. So, to avoid trouble, check the electricity source first then plug the device.
Cross Check Default URL
If you are facing mywifiext.net refused to connect error, cross-check the default web address. It is because sometimes users make typos in a hurry. If you found the wrong URL in the URL bar, then correct it at the same time.
Update Internet Browser
You can face issues related to the outdated browser as well during the configuration because the outdated browser does not support internet activities and create troubles.
Use Ethernet Cable
If you face a connection problem between the extender and router then try to make the wired connection between them. With the help of an Ethernet cable, the chances of disconnection are reduced and devices communicate properly with each other.
Hence, these are the troubleshooting tips that you will use to fix the issues related to the extender setup.
Pro Tips
Update the Firmware
Once you configure the Netgear AX1750 extender in your home, you need to update its firmware on time to get the best services. We recommend you this because, with the help of an updated firmware, users fix the issues related to their devices. Firmware keeps the device away from bugs and small issues. It also enhances the overall productivity of the device.
You can update the firmware by accessing the 192.168.1.250 i.e. default IP address of the extender.
Now, you know properly about the manual method to configure the Netgear AX1750 extender in the house hassle-free.