Netgear WAX206 Setup
Netgear WAX206 is a dual-band access point that also works as a router. It can be connected to a modem directly or a router. This page will help you understand how to set up access point easily. Know that the AP needs to be installed as a router if you are connecting it an ISP provided modem or an ONT (Optical Network Terminal).
How to Connect Netgear WAX206 Access Point?
The first step is to connect the WAX206 access point. It varies depending upon the case whether you want to connect it to a broadband/cable/DSL device or want to connect it directly to an Ethernet wall outlet with internet service. Here are the steps involved:
| With Cabled Device | With Ethernet Wall Outlet |
|---|---|
| Unplug the cabled broadband device from the power outlet. But, keep it connected to the wall jack (internet). | Connect the Ethernet cable from the wall outlet to the yellow WAN port on your Netgear WAX206 access point. |
| Now, run an Ethernet cable from the yellow WAN port on your Netgear WAX206 to the LAN port of your broadband device. | Ensure that the cable connection is finger-tight and that the cable used by you is free of damages. |
| Switch on the AP as well as the cabled device. | Now, power up the WAX206. |
How to Log in to Netgear WAX206?
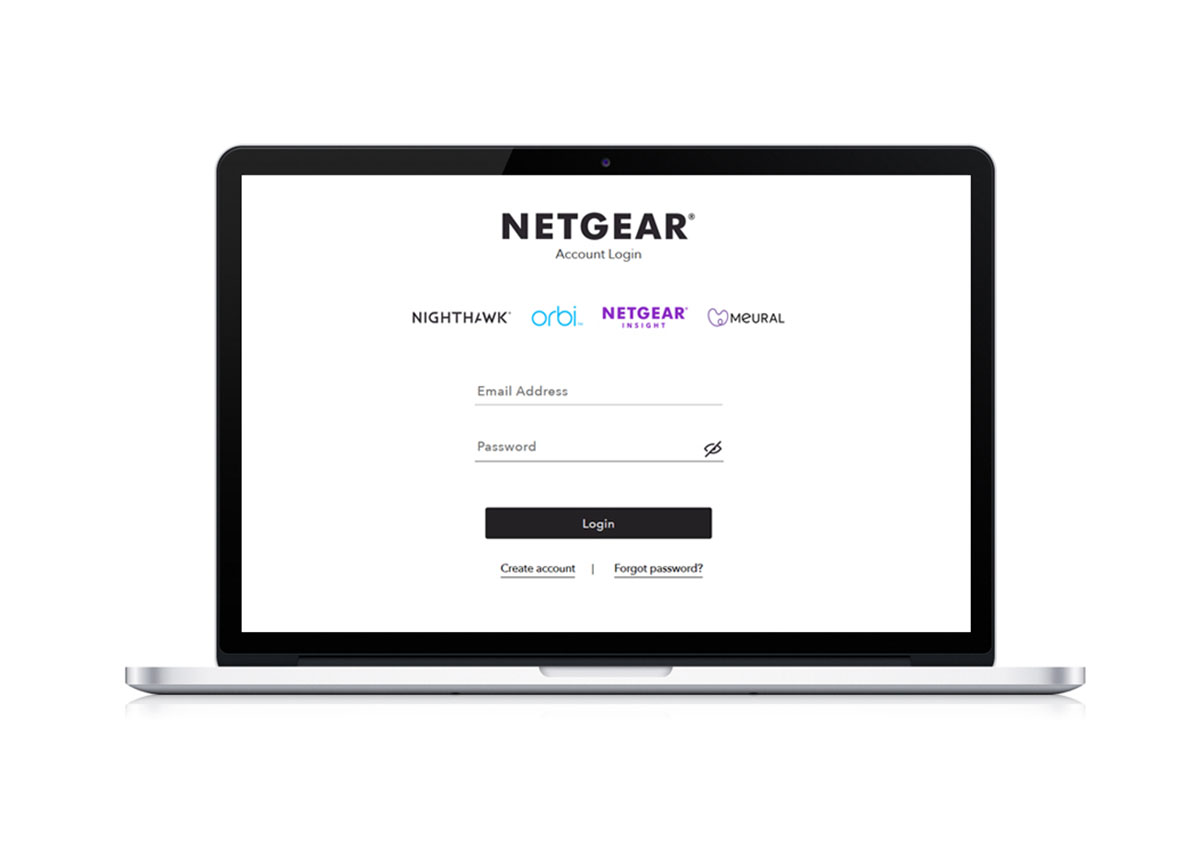
The next step after making connections is to log in to the access point to configure it. For that, you need to join the WAX206’s WiFi network on a PC with the help of the SSID and network key given on the AP’s label and follow the given steps for Netgear access point setup and login.
- The Setup wizard will run automatically after connecting to the WiFi network.
- If you can’t see the wizard, access routerlogin.net through an internet browser.
- You can now set up the WAX206 in the Access Point or the Router mode.
- Continue to follow the on-screen instructions to set up the admin password for local login, change the WiFi details, and update the firmware.
- The access point will restart as soon as the setup process finishes.
This is how you can log in to the Netgear access point WAX206 to set it up. We recommend you not close the browser window while the setup wizard is running. This might terminate the process.
How to Change Access Point Settings and Register It?
The connection with the AP will be terminated as soon as you change the WiFi password and SSID. You need to reconnect to the network now and follow these instructions on the wizard to register the product:
- Log in to the AP using the password you have assigned during the setup.
- The BASIC Home page will appear now.
- Go to Advanced > Advanced Setup.
- Choose Wireless Settings.
- Go to Region now and select the country where you are using the AP.
- Click Apply.
- Lastly, register your product with the MyNetgear ID by filling in a form.

Firmware Update for WAX206: You must update the firmware of the WAX206 access point regularly to ensure smooth network performance. For this, you need to access the BASIC Home screen on a PC connected to the main network (cabled device) or the AP’s network.
How to Reset Netgear WAX206 Access Point?
Just in case, you face any problem while using the access point, it is recommended that you restore it to the default factory mode. The steps involved in the process are given below:
- Ensure that your access point is getting a stable power.
- Once ensured, grab a sharp pointed object.
- Using it, press and hold the WAX206 reset button for 7 seconds straight.
- Release the button and let your AP restore to the default factory settings
The access point will start running on the default settings after the reset process. Thus, you have to set it up again once the reset completes.