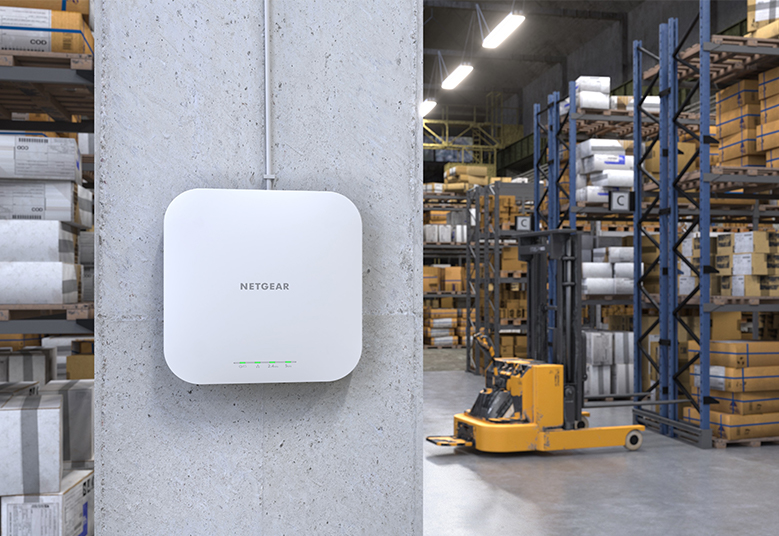
Netgear WAX610 Setup
The major difference that separates an access point from a WiFi extender is that it lets the person connect too many devices to the wired network. In other words, the access point or AP connects to a wired network and convert its signals into wireless ones. Netgear WAX610 is one such access point. The major benefit of owning this AP is that it can be managed through a browser and through the Insight app.
How to Set Up Netgear WAX610 Access Point?
Setting up the Access Point is possible via a browser using the Insight Cloud Portal and the Insight app. Moreover, it can also be done in a standalone mode via the local GUI. The steps given below will help you with the AP configuration via the Insight portal. However, before that create a LAN connection between your router and AP and power up both devices.
- Ensure that the lights on your WAX610 AP are solid green.
- Switch on your computer and visit insight.netgear.com using a browser.
- Enter MyNetgear details to log in to your Netgear account.
- If you are a Pro user, choose the organization where you want to add the AP.
- Followed by that, add the location for your access point.
- Click the + button.
- Input the serial number of your access point and select Go.
- A page displaying the message “Setup is in progress” will show up.
- The setup will be completed in a few minutes.

Setup as a Standalone: To complete Netgear WAX610 setup as a standalone in a web browser, connect PC to AP network using the password “sharedsecret”, go to aplogin.net and follow the on-screen instructions after selecting the Web Browser (Local) radio button.
How to Change WAX610 Password?
The default password of the Netgear WAX610 access point is “password”. However, it needs to be changed after Netgear access point setup so that unauthorized access can be prevented. Here’s how you can change the password of the AP:
- Open a web browser on a computer connected to WAX610 network.
- Log in to your access point by accessing its default IP address.
- Enter the username as admin.
- Input the password value as “password”.
- Go to Management and select Configuration.
- Click System > Advanced > User Accounts.
- Next to the admin, enter the new password in the Password.
- Confirm the password by re-entering it.
- Save the changes by clicking the Apply button.
How to Update Netgear WAX610 Firmware?
Updating the firmware of the WAX610 access point is very important as it helps you keep the home network equipped with the latest features. The following steps will help you update the firmware of your access point. Before all that, connect the AP to the internet.
- Open a web browser on a computer connected to your Netgear access point.
- You can also use a PC that is present on the same network as your AP.
- Enter the IP address assigned to the WAX610 access point into the address bar of the browser.
- Log in using the valid login details.
- The dashboard page of your access point will appear.
- Click Maintenance under Management.
- Select Upgrade > Firmware Upgrade.
- Select Local under the Upgrade Options menu.
- Click Browse to locate and select the firmware update file.
- The file will end with .tar extension.
- Click Upgrade and let the process get completed.
This is how you can update the firmware of your Netgear AP. This is to inform you that you can also check for the firmware update and let the process get complete automatically.
How to Reset Netgear WAX610 Access Point?
The access point must be reset in case you are experiencing problems using it. These problems can be your access point not working or the wrong firmware file being updated on the access point. Follow the given steps for the access point reset:
- Ensure that your AP is connected to power and that it is not sharing a connection with the router.
- Look for and press the Reset button on your access point.
- Press the button using a sharp pin and hold it for a few seconds.
- The AP will reset.
As soon as the AP resets, you should configure it once again using the Insight app or the Insight cloud portal. Do not forget to apply the changes so that your home network can perform better in a secure way.