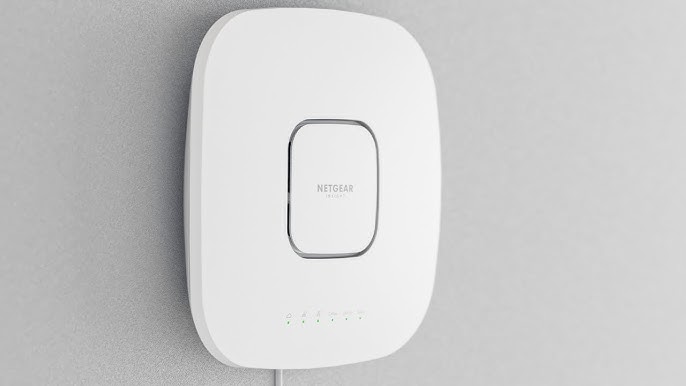
Netgear WAX220 Setup
The Netgear WAX220 access point supports dual-band frequency and can be installed as a standalone device to create a super-fast wireless network. You can manage it locally through a web browser and change the home network settings. This page will walk you through the Netgear WAX220 setup, login, and firmware update process.
How to Set Up Netgear WAX220 Access Point?
In order to set up the Netgear access point locally using the aplogin.com URL, you are suggested to walk through the steps given below:
- Power up the WAX220 AP using a PoE+ switch or a power adapter.
- When the lights on your access point turn green, you can begin its configuration.
- Now that the management WiFi network of your AP is activated, you need to connect your WiFi-enabled PC to that network.
- You can scan the QR code available on the WAX220 label to connect to the network.
- You can also use the WiFi network details given on the label to connect PC to WiFi.
- Launch an internet browser and go to https://www.aplogin.net.
- You can also use https://192.168.0.100.
- Use https not http.
- You get redirected to the official site of Netgear, you should reconnect your PC to the WiFi network of your Netgear access point.
- With the successful access to the URL or IP, you will see the Welcome page.
- Select Next and set up a new login password for your AP.
- You are also required to set up the WiFi network name and network key.
- Click Apply.
- Your AP will restart and the settings will be applied.
The Netgear WAX220 setup process ends here. You must know that when the AP is installed, you need to connect your WiFi devices to the new WiFi network you’ve created. The default WiFi details won’t work.
How to Login to Netgear WAX220?
After the setup process, you might want to enable access control and tweak other important settings of the Netgear WAX220 access point. Go through the below-mentioned steps to login to the AP:
- Connect a WiFi-enabled PC or a laptop to the network of your WAX220.
- Now, open an internet browser and access the login address aplogin.net.
- When the login page of the Netgear WAX220 shows up, enter the login password that you set during the installation of your access point.
- The password is case-sensitive. Enter it carefully.
- Click the Log In button.
- The local interface of your access point will appear.
- From here, you can update the firmware, change login password, change SSID and network key of the access point.
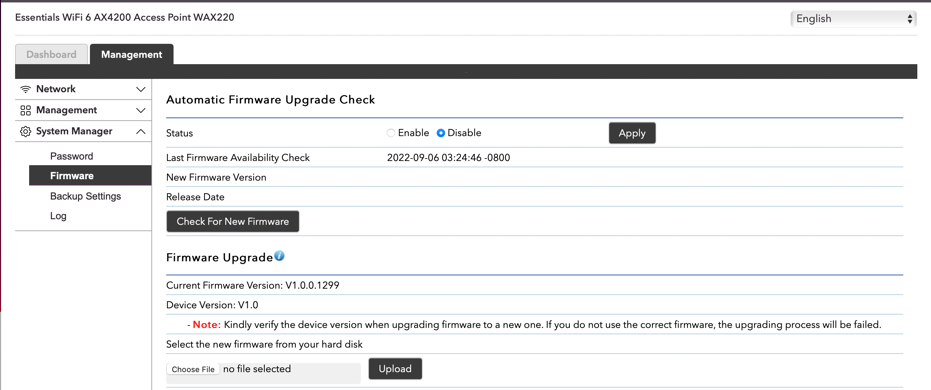
How to Update Netgear WAX220 Firmware?
To update the firmware of your access point, you should refer to the instructions mentioned below. For your information, keeping the AP’s firmware updated will help you make the network performance smoother.
- Log in to the local interface of the WAX220 access point using the valid admin details.
- The login interface is also accessible via the Netgear account details. However, you must have a MyNetgear account for the same.
- Now, select System Manager under Management.
- Click Firmware.
- You will see two sections – Automatic Firmware Upgrade Check and Firmware Upgrade.
- Click Check for New Firmware.
- The access point will now check if a new firmware version is available. Also, it will ask you to confirm whether you want to update the firmware or not.
- Click Yes.
- The next page will display the firmware update progress.
When the firmware update of your AP starts, you are recommended not to interrupt the update by clicking a link or closing the browser. Also, do not turn off the AP. You can again log back into the Netgear WAX220 in order to change other settings as soon as the firmware update finishes and your AP restarts. However, if you fail, reset the Netgear WAX220 access point and set it up once again.