Are you an introvert who does not like revealing the WiFi password of the home network to some annoying entities? Well, we can totally understand your situation. We can’t stop you from telling WiFi passwords but can provide you with a midway. There’s a method using which such people what we call WiFi leeches won’t be able to connect to the WiFi network even if they are aware of the network key or password. Yes, we want you to block them via the home WiFi settings. The feature that can help you do that is known as Access Control. Using this feature is easy on WiFi routers, but people who have extended their home networks often struggle to do that. That is why we will discuss how to enable Access Control for extender in this very blog. Keep reading.
What You’ll Need to Enable Access Control for Extender?
The very first thing you’ll need in order to enable the Access Control feature on your range extender is an already configured extender of course! Apart from this, a working internet connection will be required. You will have to make use a PC to access 192.168.1.250 which is the IP address of various range extenders.
The Access Control feature is available on WiFi range extenders brought in by various brands like Netgear, TP-Link, and Linksys. For easy understanding of the concept of enabling this feature, we have taken a Netgear range extender as an example.
You will also need a damage-free Ethernet cable to connect your Netgear extender and the computer. FYI, wired devices work more proficient than those connected to the wireless network of the extender i.e. Netgear_ext. At last, you will also need the MAC address of the devices that you want to block from the Netgear extender network.
Steps to Enable Access Control for Extender
1. Verify All the Cable Connections
Before starting the actual process of accessing the web interface of the extender and blocking any device, we suggest you have a look at all the cable connections. The cable holding a connection between your extender and router matters the most. It must not be damaged from any point. Apart from this, it is supposed to be connected to the right ports of your Netgear extender and its respective host router.
After verifying the connection, you should switch on the extender and router. You have to switch on the router first.
2. Log in to the Extender
- Hardwire your computer to the Netgear extender.
- Ensure that you are creating a finger-tight connection.
- Open the default web browser of your PC now.
- Type in the web address mywifiext.net there.
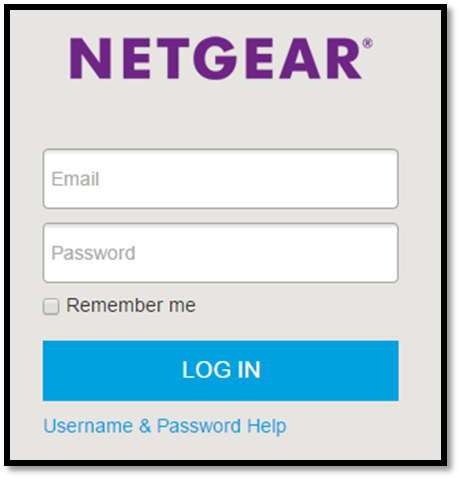
- Upon pressing Enter, you will see the login page.
- Here, you are supposed to enter the password that you specified during the extender setup process.
- In case you have not changed the login password, type “admin” in lowercase and click the Log In button.
- Very soon, the web interface of the extender will appear.
- It means you have successfully logged in to your Netgear range extender.
3. Enable Access Control for Extender
The moment you get logged in to your Netgear extender, you are supposed to click Settings and select Connected Devices. You will get welcomed by a window showing the name of some devices.
- The list will have MAC and IP address of those devices.
- To enable Access Control for extender, select the Deny checkbox that you want to block.
- Click the Save option.
Note: In some extender models, you will have to input the MAC address of the device manually to block it. Thus, be very sure that you are not using the incorrect MAC address value.
This is how you can enable Access Control for extender. You will be surprised to know that the devices that were denies internet access will no longer be able to connect to the extender’s WiFi network. Hence, you can sleep in peace without worrying about your precious bandwidth getting eaten up by some greedy WiFi bandits.
Verdict
In this digital world, more than 75% of individuals look for a WiFi network that they can crack. Since we have provided you with the instructions to enable Access Control for extender, we are hopeful that you will be able to block unwanted devices. Now, you will also notice a drastic improvement in the performance offered by the WiFi network of your range extender.
To further improve the home network security, it is suggested that you change the admin and WiFi password every 3 months. Also, keep the firmware of your range extender updated so that improved performance and security can be ensured. Keep the extender in an interference-free zone to enhance the signal quality.
