If you have installed a router thinking you’ll be able to access the internet from every corner of your house, then oops, looks like you’ve made the wrong decision. Surely, a top-rated WiFi router provides great internet service, but not enough to cover all the WiFi dead zones of your house.
Thus, if you want to access the internet from every nook and cranny of your home, then you need to set up another device for that. And that device is a Netgear WiFi range extender.
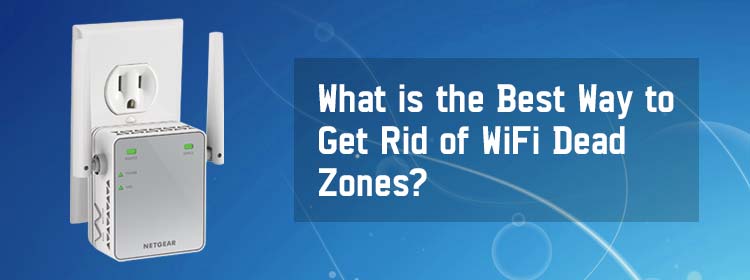
For those of you who are wondering how to perform Netgear new extender setup, worry not. What are we here for? In this blog post, you’ll become familiar with three methods through which you can easily install an extender to satisfy your internet-related needs and eliminate WiFi dead zones from your zone. So, with no further discussion, let’s get started, shall we?
Methods to Install a Netgear Extender to Eliminate the WiFi Dead Zones
Mentioned below are the three different ways through which you can set up an extender:
- By pressing the WPS button
- By accessing the mywifiext net setup wizard
- By using the Netgear Nighthawk application
Once you are done going through this blog post, you are free to implement any setup method you find easy.
I. By Pressing the WPS Button
Pressing the WPS button on your extender is one of the easiest ways to set up the WiFi device. People all around the world use it. You can give it a try too.
Here are the steps you need to follow to set up your device by pressing the WPS button:
- Power on your Netgear extender.
- Plug it into a wall socket. Ensure that the wall socket isn’t damaged.
- Connect the extender to your home router.
- Then, look for the WPS button located on your WiFi device.
- Once located, carefully press it.
- Now, relocate your WiFi range extender.
II. By Accessing the Mywifiext Net Setup Wizard
This method requires you to access the web user interface of your Netgear extender. Don’t worry, doing so isn’t that big of a deal. All you need to do is, follow the instructions given below and know how to set up an extender manually:
- Ensure that your extender is well connected to the router.
- If connecting your devices wirelessly is causing issues, then you use a cable.
- Once done, switch on your laptop and open Google Chrome.
Note: You can also make use of Mozilla Firefox as long as its updated.
- Enter 192.168.1.250 in the URL bar of Google Chrome.
- Press the Enter key to go to the Netgear extender login page.
- Fill in the default login credentials and hit Log In to proceed.
- You will be taken to the Netgear mywifiext net setup wizard.
- Now, walk through the on-screen prompts.
- Click on the Finish button to complete setting up the WiFi extender.
III. By Using the Netgear Nighthawk Application
Using the Netgear Nighthawk application to set up an extender is one of the easiest ways to eliminate the WiFi dead zones in your house.
Outlined below are the step-by-step guidelines that you need to follow to configure the extender using the Nighthawk app:
- Power on your mobile device.
- Go to the App Store or Google Play Store (according to the device you’re using).
- Search for the Netgear Nighthawk app.
- Once found, click on the Download button.
- Wait for the installation process to get completed.
- Next, create a Netgear account and fill in the required details in the given fields.
- The Basic home screen will appear.
- Now, take a quick read of the on-screen steps, finish setting up your device, and get rid of WiFi dead zones.
Conclusion
So, this was all about how to eliminate the WiFi dead zones of your house by setting up a Netgear range extender. Now, you are free to implement any setup method that you want to install the extender. In case of any doubts and queries, don’t hesitate to get in touch with our team of experts.
