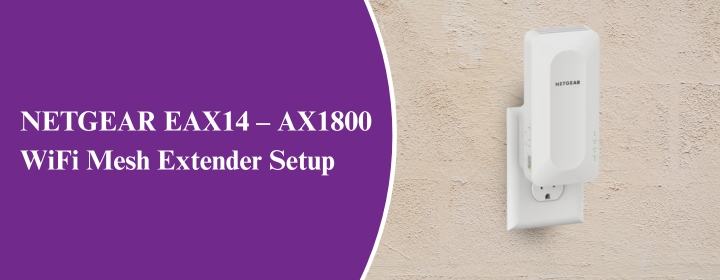
Netgear EAX14 WiFi mesh extender provides WiFi 6 technology with a speed of upto 1800mbps. Netgear EAX14 – AX1800 can be setup in range extender mode and access point mode. Let’s learn all Netgear WiFi extender setup methods one by one:
WPS Setup (Range Extender Mode)
- Connect the extender into power socket within the reach of the router.
- Locate and press the WPS button on the extender.
- Find and press the WPS button on the router.
- The mesh extender’s WPS LED will show green solid light which means the devices are connected.
- Now, the extender is setup in the default settings and you can connect to the network using the host router’s WiFi password.
Mywifiext.net Setup (Range Extender Mode)
- Power the extender on within the range of the router.
- Choose the extender WiFi network (Netgear_ext) in computer’s WiFi Settings to link it with extender.
- Go in the browser and search mywifiext.net or IP 192.168.1.250.
- New Extender Setup page will display, click NEW EXTENDER SETUP button.
- Choose the Range Extender mode or Access point mode.
- Create the Netgear account and click NEXT.
- Choose the local WiFi network (host router network name) and enter the password to connect extender with the router.
- Click Next. Enter new extended network name and password.
- SAVE settings. Wait until the device reboots, after that you can connect with the extender network.
AP (Access Point) Mode Setup
At first, link the extender with the router via Ethernet cable. One of the cable’s end goes into the router’s LAN port and other one goes in the extender’s port. Then, turn the devices on and follow the steps.
- Connect PC with the extender’s WiFi network. Open browser and search mywifiext.net.
- Click NEW EXTENDER SETUP, choose Access point mode option.
- Follow the on-screen instructions one by one and complete the setup.
