Most WiFi range extenders have a web user interfaces that help users to connect their extenders to compatible routers. This web GUI can be accessed from any web browser such as Chrome, Edge, or Safari. This blog will particularly discuss the instructions to connect WiFi extender to ATT router via web browser (web GUI method).
Therefore, before you begin, consider installing the latest version of the web browser on your WiFi-enabled PC or laptop. Apart from this, consider performing a factory default reset of your WiFi range extender. It will make the connection process smooth. Now, let’s move ahead and discuss the steps to connect extender to the ATT router.
Steps to Connect WiFi Extender to ATT Router via Web Browser
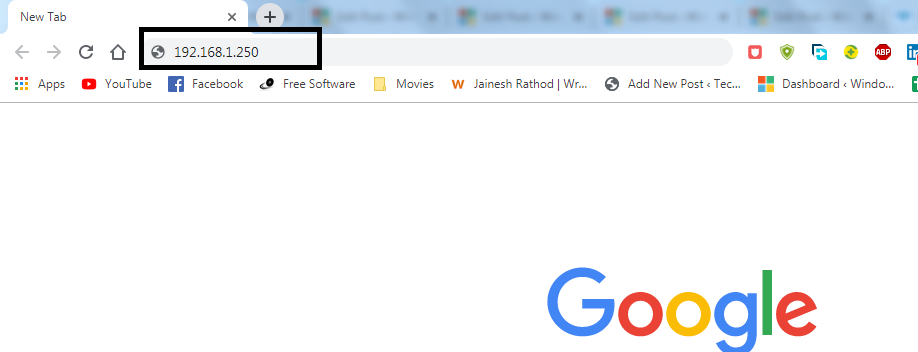
To make it easy for you to grasp the concept, we have taken an example of a connection between a Netgear extender and an ATT router. For your information, you can access the web GUI of Netgear extender with the help of 192.168.1.250 IP.
Follow the steps mentioned below to connect your WiFi extender to the ATT router with the help of a web browser:
- Ensure that there is an 8-10 ft gap between your Netgear extender and an ATT router.
- If your router is powered up already, we suggest you reboot it by unplugging its power cord from the electrical socket and plugging it back after a few seconds.
- After that, switch on your Netgear WiFi range extender.
- Wait for a few seconds and open WiFi settings on your PC.
- Connect your PC to the Netgear_EXT WiFi name.
- If you are prompted to enter the WiFi password, take the help of the extender’s user manual or the label located at its bottom.
- As soon as your PC connects to the Netgear extender WiFi, you need to open a web browser.
- Into the address bar of the browser, type mywifiext.net.
- You will now be taken to the login page of your extender.
- There, type admin into the Username field and password into the Password field.
- A page containing terms and conditions of using the extender will appear.
- After accepting terms and conditions, click Next.
- Your extender will now check for the networks that are available in its range.
- Find the ATT router network and connect to it using the correct WiFi password.
- Thereafter, follow the on-screen prompts to assign an admin password and change WiFi network settings of your extender.
- Lastly, finalize the connection process by registering your extender on your MyNetgear account.
In this way, you will be able to connect WiFi extender to ATT router with the help of an internet browser. Know that, these steps can be followed for other range extenders too. The only difference will be of the default values and menus.
This is to inform you that the mywifiext.net URL does not work on Safari web browser. Thus, if you attempt to connect your extender to router using Safari, make sure that you use mywifiext.local. In case you find the connection steps via a web browser difficult to follow, use the Nighthawk app for Netgear extender connection.
Conclusion
That’s all about how to connect WiFi extender to ATT router. It is expected that with the help of the instructions given above, you will be able to connect your extender and router without any difficulty.
