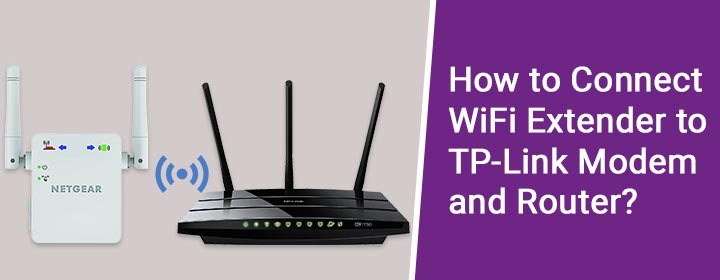
Modems, routers, and WiFi range extenders are not new terms in the technical realm. But, what people generally find new is the connection between these devices. They tend to forget steps when it comes to connecting them. The biggest confusion is that whether they need to connect the extender to the modem or to the router. Well, both connection types are possible. However, if you consider a general scenario, the modem acts as a host for the router and the router acts as a host for the extender. In every scenario, the range extender is client. This blog will particularly explain how to connect extender to TP-Link modem and router.
Note: Like products from Netgear, WiFi routers and modems brought in by TP-Link are known for their higher efficiencies. So, this blog will specifically talk about Netgear range extender and its connection with a modem and router.
How to Connect WiFi Extender to TP-Link Router?
Since the connection process between a WiFi router and the range extender is the easiest process that we are going to discuss in this post, let’s start with that only. But, before that, we suggest you take notes of the WiFi password and SSID of your TP-Link repeater.
- Hardwire your TP-Link router and a Netgear range extender.
- Now, switch on your extender and the WiFi router.
- Does your Netgear range extender have a Mode Selector button? If Yes, then toggle the button to the “Extender” position.
- Once done, switch on the computer and connect it to the Netgear_ext network.
- You are now required to access the login IP address of your range extender.
- The moment the admin window of your extender shows up, you are required to input the default values i.e. admin and password for Username and Password respectively.
- Upon logging in, the New Extender Setup window will show up.
- Choose the network that belongs to your TP-Link router and input the WiFi password.
- Customize other settings to complete the connection.
Connect via WPS
TP-Link router and extender can also be connected through WPS. In this approach, you are supposed to press the router’s WPS button and then your range extender’s WPS button. For dual-band range extender, you need to press the WPS button 2 times.
How to Connect WiFi Extender to TP-Link Modem?
Mostly, a router acts as a bridge between both devices. But, if you do not have a router, you can directly connect the extender to the TP-Link modem. For this, you have to toggle the Netgear extender’s mode selector to Access Point. Once done, you can access mywifiext.net to make some changes. Here’s how.
- Hardwire the LAN1 port of your modem and the Internet port of your Netgear extender.
- Once done, switch on the TP-Link modem, and then your range extender.
- You are now required to switch the mode selector to Access Point.
- On a computer connected to the WiFi network of your Netgear extender, access mywifiext.net.
- Use the address mywifiext.local in case the connection process is being finalized via Mac.
- Upon logging in via the default user name and password, you will be taken to a window that will require you to choose the network to be amplified.
- Choose the TP-Link modem’s network and input the WiFi password.
- Give separate SSID and password to the extender.
- Save the changes to connect extender to TP-Link router successfully.
Do You Know?
When the extender is set up in the Extender mode, you can disconnect the Ethernet cable connecting it to the host after finalizing the connection. However, you need to maintain a consistent Ethernet cable connection between your WiFi devices if the extender is being installed as an Access Point. Thus, you can disengage the cable connection in the case of a TP-Link router and extender connection. But, keep the connection forever for TP-Link modem and Netgear extender connection.
WiFi Extender to TP-Link Modem Router Connection
It is time to discuss the device that works as a modem as well as a WiFi router i.e. a TP-Link modem router. The connection process is quite similar to the connection process between a router and extender. The steps mentioned below will let you know that and finalize the connection process:
- Run the Ethernet cable from the modem-router’s LAN1 port to the extender’s WAN port.
- Switch on your devices.
- Visit mywifiext.net on a computer that is connected to your extender’s network.
- After that, choose the network that belongs to the TP-Link modem router.
- Enter the correct WiFi password and walk through the on-screen instructions.
This is how you can establish a connection between a modem-router and a Netgear range extender. You have to perform Netgear WiFi extender reset in case the connection fails. Maybe your extender wasn’t running on the default factory settings.
The Final Words
Our post explaining how to connect WiFi extender to TP-Link modem and router plus modem-router ends here. Hopefully, you have connected your devices. Know that your computer needs to share a connection with the extender’s network to finalize the connection. The default network name as well as the WiFi password is mentioned on the extender’s label. You can also go with a hardwired connection between the extender and computer.
