There is a drastic rise in the number of devices in our homes that need an internet connection. A single router may fail to provide internet access in all parts of the home. We have different solutions to avoid that lag in the internet in far-off corners of the home.
Some users prefer using a WiFi extender while others go for a mesh setup. Then there are users who prefer setting up a separate access point that connects to the main router to help maximize the network coverage.
An access point like a Netgear WAX214 allows more devices to simultaneously connect to internet without compromising on bandwidth and speed. You can install multiple access points in your home to get internet access without having to swap between the networks. Keep reading to learn more about Netgear Access point setup.
How to Perform Netgear WAX214 Setup?
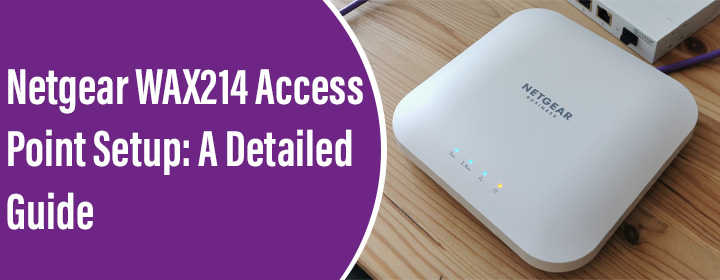
Netgear AX1800 Dual-band access point WAX214 is meant to work as a separate wireless access point within the existing network. The first step is the network connection. You can do this in two ways:
- With a PoE or PoE+ Network Connection
- With a Non-PoE Network Connection
The further sections will walk you through both of these methods. Read on carefully and execute the steps.
WAX214 Setup with PoE or PoE+ Network Connection
Your Access Point can be connected to a PoE switch in the network. WAX214 supports Ethernet speeds up to 1 Gbps and thus it works well with any switch that supports this speed. Use these steps now for the AX1800 setup:
- The PoE Switch should be connected to your network. Run an Ethernet cable from your router’s LAN port to the RJ-45 port on the switch.
NOTE: WAX214 does not need a power connection if it connects to a Power over Ethernet (PoE) switch.
- Now, use an Ethernet cable and connect one of its ends to the LAN/PoE port on the access point.
- Connect its second end to the PoE port switch.
- The lights on the access point will now turn on.
You can skip the next section to proceed to the initial configuration steps if you select the PoE network connection. Follow the instructions in the next section when you are using a non-PoE connection.
WAX214 Setup With a Non-PoE Network Connection
- Connect your non-Power over Ethernet switch to the router as done in the previous method.
- Run an Ethernet cable from the LAN/PoE port of access point to the port on the switch.
- Attach the power adapter of your access point to it and plug in its other end into a wall socket.
- The LED lights will turn on.
To carry out the further steps for Netgear WAX214 setup, you need to log in to web UI.
How to Log In to WAX214 Using a Web Browser?
- Switch on your computer or laptop first.
- Go to WiFi option and find WAX214 management SSID.
The SSID for your access point will look like this WAX214XXXXXX-CONFIG-ONLY. The MAC address of the LAN interface of the Access point is represented by XXXXXX.
- Check the label on your access point to locate the default WiFi password. Use this default password to connect to the WiFi network.
- Run an internet browser now.
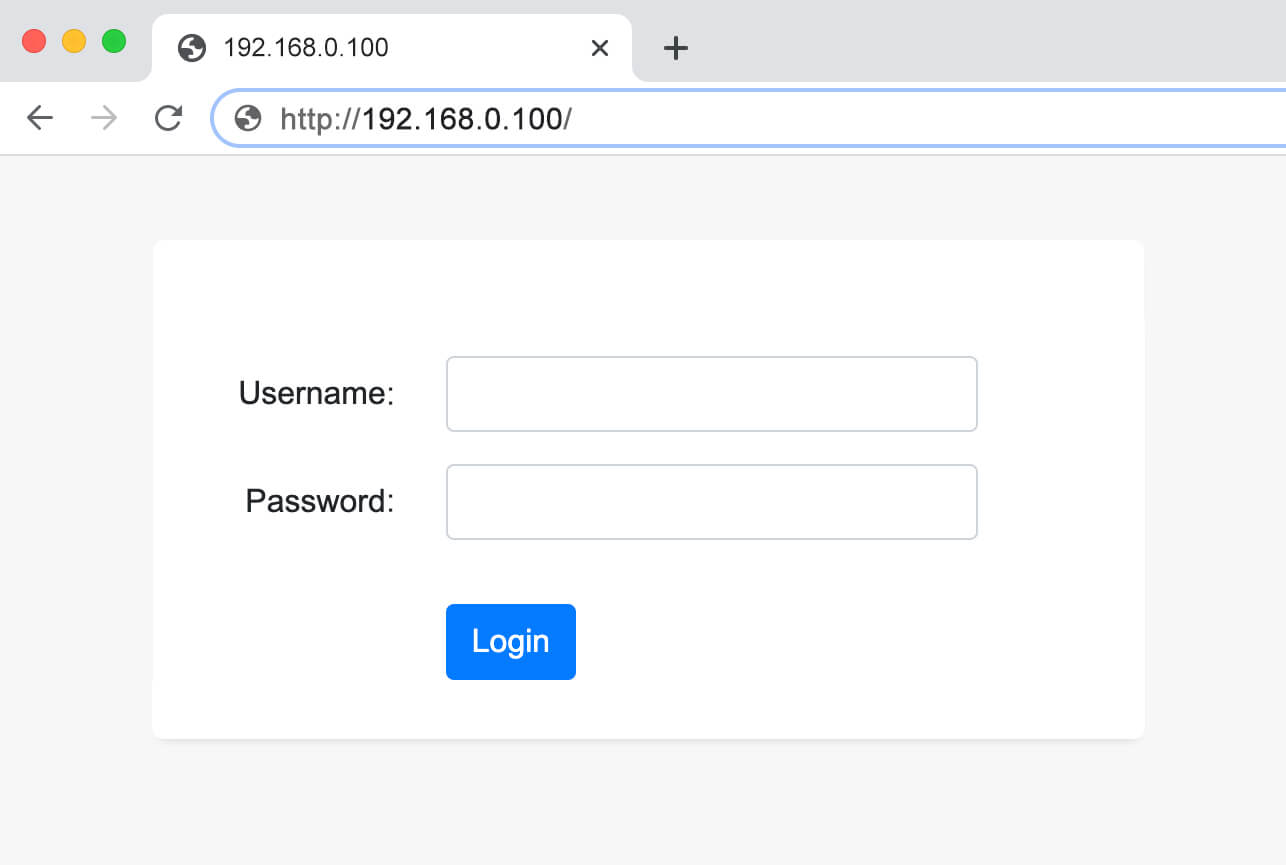
- Insert aplogin.net or 192.168.0.100 in the URL bar of the browser and press Enter.

- You will land on DayZero login page. This is only for the first time login.
- Set a unique local login password for the access point. Type the password twice in APLogin New Password and Confirm New Password fields.
- Assign a WiFi name for the main network now by using the SSID field.
- Use the Passphrase field to assign a WiFi password for the main network.
- Click Apply once all the required configuration settings are done.
- WAX214 will now reboot and once it boots up you will have the login page displayed.
- Use the newly assigned local device password, log in again.
- Carry out the further configuration settings as per the on-screen prompts.
You can customize other settings now. If prompted update the firmware on access point to the most recent firmware version.
The Closing Thoughts
This is how you can set up the Netgear WAX214 access point with ease. We recommend keeping all the login details saved at a specific location. In case you forget the login password, you will have to reset the access point and configure it all over again.

