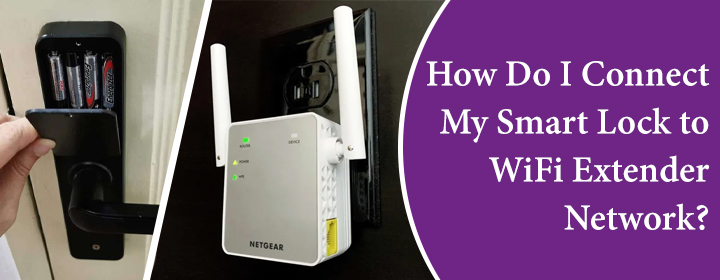
Ordinary locks have become outdated. Today is the era of Smart locks. These locks can help you unlock the door without a key. However, you can unlock it with a password. A smart lock needs to be connected to a WiFi network for proper functioning. This blog will focus on the same and reveal how to connect Smart lock to WiFi extender network. To make it easy for you to grasp the concept, we’ve taken the example of a Netgear WiFi extender.
How to Connect Smart Lock to WiFi Extender Network?
Firstly, you have to be sure that you have completed the Netgear extender setup properly via mywifiext.net or the default IP address. An improperly configured Netgear extender won’t help you in any case.
1. Gather Equipment and Read the Manual
To ensure that the setup process is completed smoothly, you need to prepare several tools. Therefore, gather the following tools and equipment:
- Screwdriver
- Measuring tape
- Drill and a level
You also need to refer to the product manual. This is because a Smart lock having a specific design might require particular instructions to be followed for hardware installation.
2. Remove the Existing Lock and Install Smart Lock
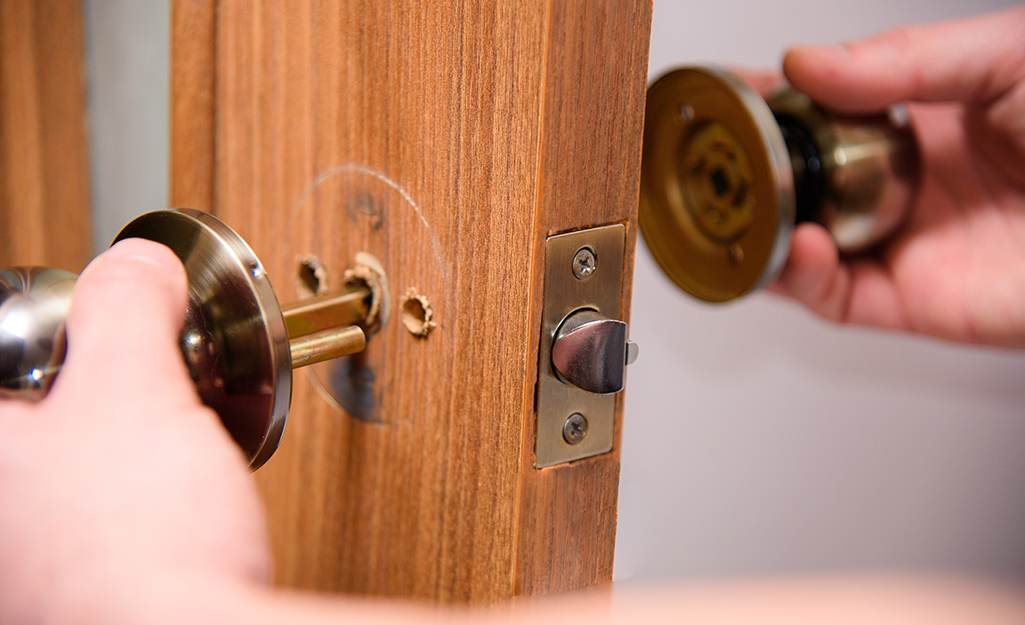
As stated in the beginning that people today are replacing their deadbolt locks with a smart one, start by removing the door handle and deadbolt from interior as well as exterior sides of the door. After that, you need to install the Smart lock. You need to follow the manufacturer’s instructions given in the user manual to install the hardware. Use the measuring tap and level to do that. If your Smart lock has a deadbolt component, insert it through the mounting plate and nail it into its respective place with the help of provided screws.
3. Supply Power to Smart Lock
The next step is to connect the Smart Lock to a reliable power source. If your lock is battery powered, insert the fresh battery properly. However, you need to safely connect your Smart Lock to a power source if that needs to be done.
4. Customize Settings by Connecting to WiFi
Now comes the most crucial step – the step of connecting the Smart lock to WiFi extender. For this, you will require the WiFi password along with the SSID of the Netgear extender. The default SSID is Netgear_EXT. Once you gather the necessary details, you need to download the app associated with your Smart lock on your mobile phone. Create an account after that and pair the lock with your WiFi range extender using the on-screen instructions.
Note: The connection process between your Smart Lock and Netgear WiFi extender might fail if your phone is not connected to the Netgear extender network. Apart from this, ensure to use the correct WiFi frequency band when asked for.
This includes inputting the WiFi details of the Netgear extender network, setting up the access digital code for your family members or friends. To access the enhanced security features, you should adjust settings as per your preference.
The Conclusion
It is not difficult to connect Smart lock to WiFi extender network. The process just includes setting up the hardware component using screws and other equipment and then following the in-app instructions to connect Smart lock. Hopefully, you will be able to secure your home with the help of the information provided in the blog.
