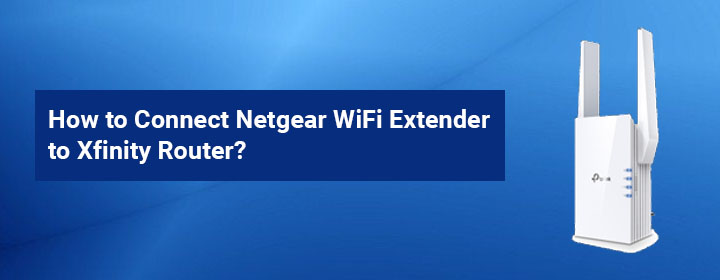
Having a reliable and strong Wi-Fi signal throughout the home is essential to complete online tasks. If you’re experiencing weak or dead spots in your Wi-Fi coverage, a Netgear WiFi extender can help boost the range and provide better connectivity. In this blog, we will walk you through the simple steps to connect your extender to an Xfinity router via mywifiext.net. Let’s get started!
Steps to Connect Netgear Extender to Xfinity Router
Step 1: Reset Your Xfinity Router
If you already use other brand extender for your home network and now want to connect the Xfinity router with the Netgear extender, then you have to reset your extender first. Here are the steps to reset your extender:
- Ensure that the extender is plugged in and turned on.
- Locate the reset button.
- Get a Paperclip or Pin.
- Press and hold the reset button
- After holding the reset button, let go of it.
By following these steps, you will have successfully reset your Xfinity router.
Step 2: Prepare Your Equipment
Before we begin, make sure you have the following items ready:
- Netgear WiFi extender.
- Strong internet connection.
- Xfinity router.
- A computer, laptop, or mobile device with Wi-Fi capabilities.
Step 3: Placement of Your Netgear WiFi Extender
- To ensure optimal coverage, place your Netgear WiFi extender within the range of your Xfinity router.
- Position it in an area where the Wi-Fi signal from your router is weak or non-existent. This will help amplify the signal to those areas.
Step 4: Connect the Devices
- Now take LAN cable in your hand and connect extender to Xfinity router with it.
- Do not make the loose connections between the devices.
Step 5: Power Up the Extender
- Plug your Netgear WiFi extender into a power outlet near your Xfinity router.
- Wait for the device to power up and stabilize.
- Ensure that the power LED on the extender is solid green before proceeding to the next step.
Step 6: Connect Computer to Extender Network
- On your computer, laptop, or mobile device, navigate to the available Wi-Fi networks and locate the network named “Netgear_ext.”
- This is the default network name for your Netgear WiFi extender.
- Connect to this network by clicking on it.
Step 7: Open a Web Browser
- Once connected to the “NETGEAR_EXT” network, open a web browser such as Google Chrome, Mozilla Firefox, or Safari.
Step 8: Access Default Web Address
- After opening the web browser, enter “mywifiext.net” or “192.168.1.250” into the address bar and press Enter.
Step 9: Log In to Netgear Account
- Now you will be asked for the login details.
- Fill the username and password into the on screen fields.
- Click on the Log In button.
Step 10: Access Dashboard
- Once you have logged in, the setup wizard will guide you through the configuration process.
- Follow the on-screen instructions to select your preferred network name (SSID) and password for the extended network.
- Fill the password if prompted.
- Click on the Save button.
Congratulation! You have successfully connected your extender to the router. Now you can relocate the extender to a position where it can effectively extend the Wi-Fi coverage in your home.
Ideally, it should be placed between your Xfinity router and the areas with weak signal areas.
Conclusion
By following these user-friendly steps, you can easily connect your Netgear WiFi extender to your Xfinity router and enjoy enhanced Wi-Fi coverage throughout your home. Remember, a properly positioned extender can make a significant difference in signal strength and reliability. Enjoy a seamless internet experience in every corner of your house!
