You can extend the network range of the Belkin router to reach hard-to-access areas by installing a range extender with it. Use the instructions provided in this post to learn how to connect WiFi extender to Belkin router using two different ways. For referential purpose, we have discussed steps for the Netgear WiFi extender setup.
Connect WiFi Extender to Belkin Router (WPS Method)
Before you begin, locate the WPS buttons on your Netgear WiFi extender and the Belkin router. You are going to connect both devices using wireless protected setup (WPS) buttons. In this, you need not use the login password. Here’s how you can connect WiFi extender with Belkin router using the WPS method:
- Both devices should be placed close to each other.
- Plug in Belkin router first and switch it on.
- Only when the router boots up completely, you should switch on the Netgear extender.
- Now, press the WPS button on one device.
- Within two minutes of this, press the WPS button on the second device. The sequence can be any but ensure not to delay for more than 2 minutes.
- In case your router supports other network bands, repeat steps 4 and 5.
- Wait for the LEDs on both devices to get stable.
Your Netgear WiFi extender is connected to the Belkin router now. It is ready to extend the router’s signals. You can now shift it to a location where you experience poor and unstable internet signals from the router.
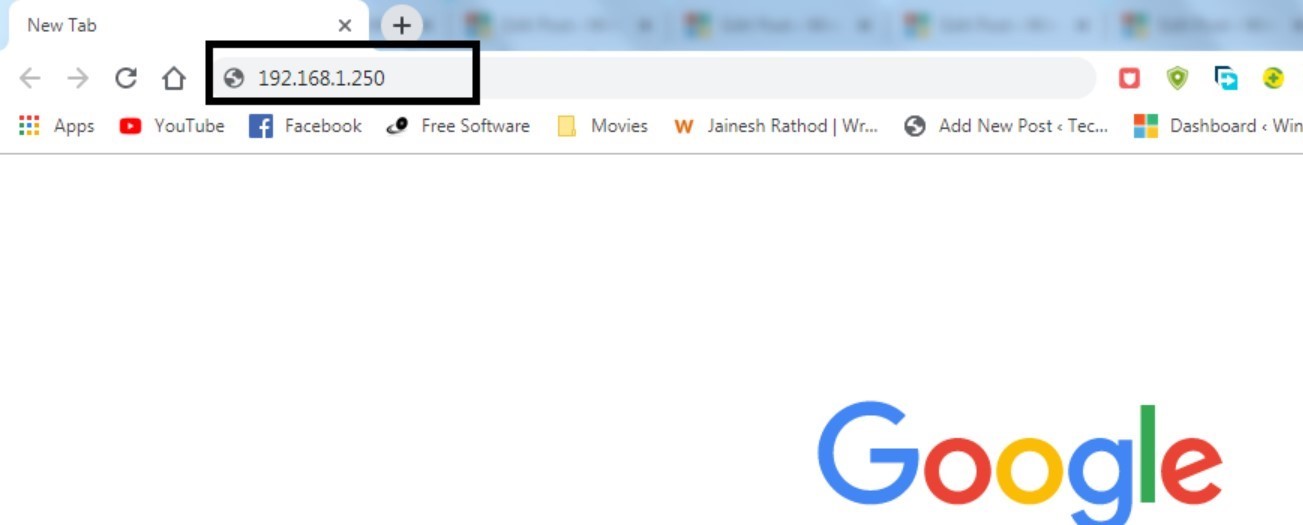
You also need to log in to your extender using the web interface via mywifiext.net or 192.168.1.250 to configure and customize further settings on it.
Configure Using Web GUI Method
The second way is by using the web interface of your Netgear extender. After doing the physical setup of the devices, you should log in to the extender to carry out the further setup steps.
If you are using a Windows PC then use the URL mywifiext.net. On the other hand, if you are using a Mac device then the URL will be mywifiext.local to log in.
Power off the devices if they are already powered on. Now follow these steps:
- After placing the extender and router close to each other, connect them with the help of a LAN cable.
- You should use the LAN port on the router and the Internet port on the extender.
- You can also let the devices connect wirelessly.
- The first device to be powered on is the Belkin router and then the extender. Follow the same sequence.
- Now, join the extender’s network on a computer or laptop.
Use the default SSID Netgear_Ext and the password field should be left empty. Or check the label at the bottom of the extender to find the WiFi password.
- Launch any internet browser that you prefer and visit mywifiext.net or mywifiext.local or 192.168.1.250.
- This will take you to the login interface of the Netgear extender.
- The admin username and password are to be entered in the given fields to further log in.
- Refer to the user manual or the label at the bottom to find the admin username and password.
- Create an admin password for your extender now. This password will be used to log in to the extender.
- Answer two security questions now. These questions will be used to retrieve password if lost.
- It will now search for the available networks. Select the Belkin router’s network.
- Assign WiFi SSID and password for both 2.4GHz and 5GHz channels.
- A few more on-screen prompts will appear. Execute them accordingly and save the settings.
Let’s Conclude It
We have provided you with two easy ways to connect WiFi extender with Belkin router through this post. Ensure to follow the same steps and in the same sequence to avoid getting stuck during the setup process. It is expected that we have helped you connect the devices and set up the WiFi extender through this informative post.
