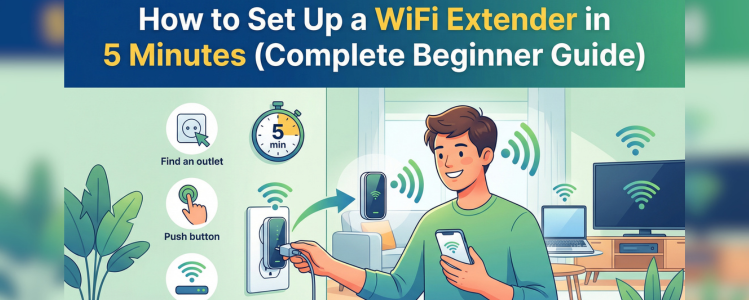
Struggling with weak WiFi signals or dead zones in your home? A WiFi extender is the perfect solution to boost your network coverage. The best part is-you can set it up in just a few minutes, even if you’re a beginner. This guide will walk you through a quick and easy Netgear Wifi Extender Setup using 192.168.1.250 so you can enjoy seamless internet connectivity throughout your space.
What You Need Before Setup
Before starting, make sure you have:
- A WiFi extender (Netgear or compatible device)
- A working router with internet connection
- A smartphone, laptop, or PC
- Your WiFi network name and password
Having these ready will make the process smooth and fast.
Step 1: Plug in Your WiFi Extender
- Insert the extender into a power outlet near your router
- Wait for the power LED to turn solid
- Ensure the device is fully powered on
Keeping the extender close to the router during setup ensures a strong connection.
Step 2: Connect to the Extender Network
- Open WiFi settings on your device
- Look for the extender’s default network name (e.g., NETGEAR_EXT)
- Connect to it
Once connected, your device is ready for configuration.
Step 3: Access the Setup Page
- Open a web browser (Chrome, Safari, Edge, etc.)
- Type 192.168.1.250 in the address bar
- Press Enter
This will take you to the setup page for your extender.
Step 4: Complete Netgear Wifi Extender Setup
Follow the on-screen instructions:
- Click on “New Extender Setup”
- Select your existing WiFi network
- Enter your WiFi password
- Confirm settings and proceed
Your extender will connect to your router within seconds.
Step 5: Place Your Extender
After setup, move your extender to the ideal location:
- Place it halfway between your router and weak signal area
- Avoid thick walls and electronic interference
- Ensure it still receives a strong signal
Proper placement is key to maximizing coverage.
Step 6: Connect Your Devices
- Look for the extended network name (usually ends with _EXT)
- Connect your devices using the same WiFi password
- Enjoy improved signal strength
Quick Troubleshooting Tips
If you face issues during setup:
- Restart your extender and router
- Ensure correct WiFi password
- Move extender closer to router
- Clear browser cache
- Try a different browser
Benefits of Using a WiFi Extender
- Eliminates dead zones
- Improves internet speed in weak areas
- Supports multiple devices
- Easy and quick setup
Pro Tips for Better Performance
- Keep firmware updated
- Avoid placing extender near metal objects
- Reduce interference from other devices
- Regularly restart your network
Final Thoughts
Setting up a WiFi extender doesn’t have to be complicated. With this simple guide, you can complete your Netgear Wifi Extender Setup using 192.168.1.250 in just a few minutes. Whether you’re working, streaming, or gaming, a properly configured extender ensures strong and reliable WiFi coverage throughout your home.
