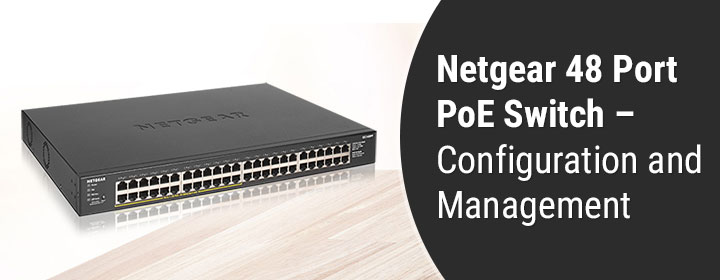
Switch is a device that connects two parties for a conversation. Hence, a network switch brought in by Netgear facilitates two devices to talk and the Netgear switch is the mediator. Generally, Netgear engineers PoE switches; the switches that gets power via an Ethernet cable. In these switches, the Ethernet cable serves a double-edged sword by giving power as well as internet connection to the receiving device. Through this blog, we will try to make you aware of a Netgear 48 port PoE switch. FYI, there’s too much to explore when it comes to learning about network switches and the very first thing we are now going to reveal is the types of switches fabricated by Netgear.
Types of Netgear 48 Port PoE Switches
There are 4 types of network switches that Netgear manufactures. These vary according to their PoE ability, uplink ports, and categories. Here they are:
| Unmanaged Switches | Managed Switches | Smart Switch | Smart Cloud Switches |
|---|---|---|---|
| Also called dumb switches. They are just plug-and-play mediators and operate without remote configuration. A person just needs to connect Ethernet cables to connect it. | Unlike Unmanaged ones, Managed Netgear switches adopt SNMP protocols due to which a person can monitor the activities happening due to switch’s ports. | They can be managed through IPs like 192.168.0.239 and the web interface itself tells the user about the good and bad settings for the home network. It means no hassle required. | Multiple switches can be managed simultaneously if they support the Smart Cloud configuration. And no connection is required between them. |
| You can’t log in to an unmanaged 48 port PoE switch from Netgear. | One can log in to a Managed switch via a web browser or an app. | Similar to Managed ones, they are also accessible. | Can be configured remotely via the web or cloud software. |
| Zero security capabilities | High-level home network security | Better security of the network | Ultra level security. |
We are now assuming that you have dived deep into the difference between all kinds of Netgear 48 port PoE switch. Given that, we are now going to discuss the setup process of unmanaged and managed switches by Netgear first. The process of installing Smart switches and cloud managed switches is almost the same.
Note: Uplink ports on a network switch allows the connection between a virtual switch and a physical switch.
How to Set Up Netgear 48 Port Unmanaged and Managed Switch?
Steps for Unmanaged Switch Installation
- You can rackmount the unmanaged switch or place it on a flat-surface.
- After that, connect the Power Source Equipment (your router or extender) and Powered Device (wired client) to the switch.
- The switch will get power as well as the internet and so do your wired clients.
This is how you can install a Netgear 48 port Unmanaged PoE switch. You can check the internet connection status by accessing myNetgear portal on your Powered device i.e. client.
Instructions for Managed Switch Installation
The steps involved in the installation of a Managed network switch are a little-bit complicated. You can go about the process using the ProSAFE Plus Utility that itself will guide you about the installation. But, know that some operations can be performed using the below-given instructions only:
- Connect PSE (Power Source Equipment) and PD (Powered Device) to the managed switch.
- Connect your computer to the 48 port switch and load the default IP address.
- Input the IP address of the switch i.e. 192.168.0.239.
- If the switch is connected via DHCP server, use the assigned IP.
- On the login portal, input the password value – password.
- Select Login.
- You are now free to configure additional options for the switch on its web-based dashboard.
The installation process of a Netgear 48 port Managed PoE switch ends here. But, if you are an owner of a Netgear Smart Managed Pro switch, the next section is what you should refer to.
How to Install Netgear Smart Pro Switch [Firmware Update Included]
This is to inform you that some PoE switches are Insight app compatible and some are not. The Insight app is an app from Netgear that works for the network switches management the way the Netgear Nighthawk app works for WiFi extenders and routers. The steps for web-management setup are quite similar to the Managed switch setup. Due to this, we are mentioning the steps to install switch via the app:
- Download the Insight app.
- Load the app and create your Insight account with the help of correct details.
- From the Netgear switch and install the latest firmware for your switch.
- Now, connect your laptop to the switch’s web GUI and enable the option that allows the configuration via the Insight app.
- You can also configure settings that cannot be managed through Insight.
- Set up the Smart Managed Pro switch using the on-screen instructions.
Note: To enable the Insight management mode on your Netgear 48 Port PoE smart managed switch, you have to log in to it on a computer through the default local password – password. After that, choose the Netgear Insight Mobile App and the Insight Cloud Portal button. Hit OK and Apply.
The Concluding Words
In this blog, we discussed the steps to install all kinds of a Netgear 48 Port PoE switch. We are hopeful that you will be able to make yours working no matter whether it is managed unmanaged, cloud managed, or a smart switch. Before wrapping up, we want to tell you that if you want to reset your switch, you must access its web GUI.


