Netgear n300 WiFi range extender is one of the best networking devices in today’s modern world of technology that helps in keeping all your wired and wireless devices connected with the internet 24×7.
Once you complete Netgear n300 WiFi range extender setup process, you will be able to access the internet at those places where you have never imagined e.g. storeroom, patio, backyard, courtyard, garage, balcony, etc.
Description of a Netgear WiFi extender n300 Front Panel
Router Link LED
The connection between the Netgear range extender and the main WiFi router.
- Solid Green Color Lights:- Indicates the best connection.
- Amber Color Lights:- Means that your Netgear device has a good connection.
- Red Color Lights:- Shows that your range extender has a poor Connection.
- Off:- Range extender is no longer receiving a connection.
Client Link LED
The connection between a Netgear range extender, mobile device, computer or a laptop.
- Green:- Superior Connection.
- Amber:- Connection is OK.
- Red:- Worst Connection.
- Off:- No Connection.
Power LED
- Solid Amber Color Light:- Means that your range extender is still booting.
- Solid Green:- The repeater is powered on.
- Off:- The device is powered off.
WPS LED
- Solid Green:- WiFi security is on.
- Flashing Green:- The connection is in progress.
- Off:- No security.
Installation of a Netgear WiFi Range Extender
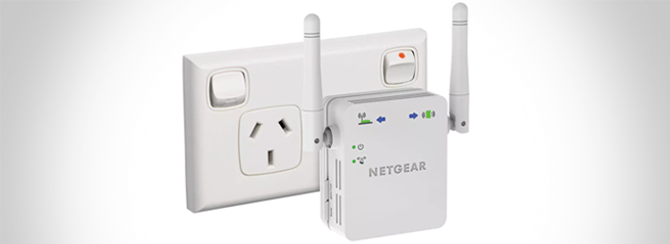
Placement of your Netgear Device
- Plug your range extender closer to existing WiFi router.
- Plug them both into an electrical outlet.
- Wait for the LED lights on them start blinking.
Note: If you can’t see any activity of the LED lights, then push the power button on your range extender. After a couple of minutes, apply the same process on your router as well.
Connect to an Existing Wireless Network
To extend the range of your existing WiFi network:
- Connect your range extender to the main WiFi network.
- You can connect it with WPS or with Netgear Genie Setup as well.
If you are facing any issue in going through Netgear N300 WiFi range extender setup process, then without any delay contact us.
To Connect your Device with WPS:
- Push the WPS button on your Netgear device.
- Within a few minutes, push the WPS button on your main WiFi router as well.
- Now, on your computer or a laptop, find the name of your new WiFi range extender.
- The range extender’s wireless network name changes to your existing WiFi network name, with _EXT.
- Connect your WiFi enable devices (computer or laptop) to the new extended WiFi network. Here, you have to use the same WiFi password or passphrase as you are using for your main WiFi router.
- Unplug your range extender. Place it to a new location closer to dead zones and blind spots.
- Plug in your device into a power source. Wait for a couple of minutes for the power LED lights on it to start blinking.
Note: Mywifiext local is used to configure your Apple, iOS devices with Netgear range expander.
Connect your Range Extender with Netgear Genie Smart Setup
- On a computer or laptop make use of a WiFi network manager to connect to the Netgear extender WiFi network.
- Now, open an internet browser and into the address bar type www.mywifiext.net.
- Type default username and password into the required fields. It will automatically redirect you to Netgear Genie setup page.
- Select a network that range you wish to extend. Hit continue.
- Type the network password in the password fields and hit the continue button.
- Type an SSID in the name field and hit the continue button.
- Now, use a WiFi network manager on your computer or laptop and connect it to the newly created wireless network.
- Enter your security key (password), select the checkbox and hit the continue button.
- Unplug the range extender.
- Plug it away from cordless phones, Bluetooth speakers, metal appliances, electronic toys, baby monitors, treadmill, microwave, automatic garage opener, door, walls, and windows.
Congrats! Your range extender has been set up successfully.
In case you encounter www.mywifiext.net new extender setup issues, then feel free to interact with our technical department any time.
