Troubled by the poor performance of your existing router? Want to extend the network coverage of the existing WiFi router in your home? Consider using a WiFi repeater. A Wireless range repeater helps to repeat the signal of the main router thereby widening the network coverage. After you purchase a repeater, you connect it to the main router so that it can begin its job of extending the network.
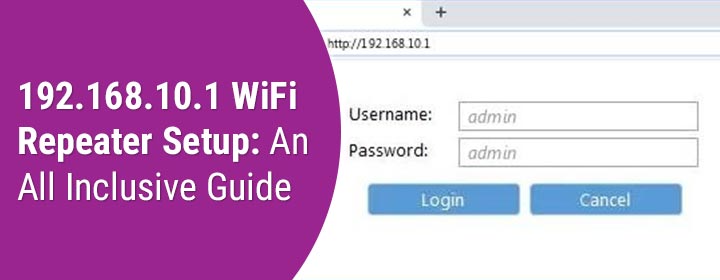
This post will help you complete the setup of your WiFi extender using IP. You simply need to access 192.168.10.1 WiFi repeater setup page on the web interface and execute the instructions.
How to Access 192.168.10.1 WiFi Repeater Setup Interface?
Use the instructions highlighted in this section to make the repeater-router connection and compete the repeater setup.
Read This First!!
Before telling you about the setup process of your WiFi repeater or extender, let us tell you that the information provided here will help you install extender or repeater of any brand. Only the IP address and login credentials will vary. The steps remain almost the same. For instance, if you have a Netgear wireless range extender, then the default IP address that you’ll use is 192.168.1.250.
Let us now help you complete WiFi extender setup with some simple and easy-to-execute steps:
1st Step: The Placement
The very first step is the placement of the WiFi repeater and the main router. Bring your repeater to the same room where you’ve installed the router. Since both these devices are to be connected, you will need to place them closer. Once the connection establishes, you can shift the repeater to a new area where you want the signal to be extended.
2nd Step: The Connection
In the second step, you need to connect the repeater to the router. Take the help of a LAN cable and link the devices. You ought the join the LAN port on the router and the Internet port on the WiFi repeater. The connection should be firm and secure and nowhere near loose to avoid any setup issues.
You can choose to let the devices connect wirelessly. Just place them closer and they will get connected using WiFi signals.
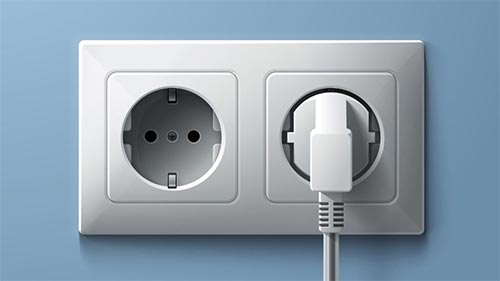
3rd Step: Power Connection
It is now time you power on the device that you wish to connect. The sequence is what you should be careful about. Firstly, power on the host router, then the WiFi repeater. The devices must be fully powered on while you are executing the 192.168.10.1 WiFi repeater setup. So, you need to use well working wall outlets. Plus ensure that the cables are not loose.
Finally, power on the computer or laptop that you will use to complete the setup process. If it is a laptop, then make sure that it is sufficiently charged.
4th Step: Connection to the Network
As soon as the PC boots up completely, go to its WiFi settings and select repeater’s default SSID from the list of the available networks. This is an important step. You must be connected to the repeater’s network if you wish to open the 192.168.10.1 WiFi repeater setup page.
5th Step: 192.168.10.1 WiFi Repeater Setup
Run a browser that’s running on the recent version. Consider updating it if it is not up-to-date. While you are getting your browser updated, also clear its cache and cookies for the optimum performance of the browser. Now, insert IP in the URL field. Hitting the Enter key will display the 192.168.10.1 WiFi repeater setup page on the screen. If you’re prompted to log in, then key in the admin credentials and log in. Thereafter, all you need to do is to follow the prompts that appear on the screen to complete the setup.
Your WiFi repeater isn’t connected to the main router and is ready to be used. But before you connect to its network, we suggest you relocate it to a new place in the home. You should have two things in mind:
- The repeater must sit within the boundary line of the host router.
- It should be placed near the WiFi dead zones where you want to get the extended signals from the router.
The Final Note
Now that you have completed 192.168.10.1 WiFi repeater setup and relocated your repeater to a new place in the home, you can connect to its network. You should also customize the settings on you repeater as per your requirements. If it is a Netgear WiFi extender that you own, then you should register it to the MyNetgear account to begin receiving updates and post on the Netgear community to get any assistance.
