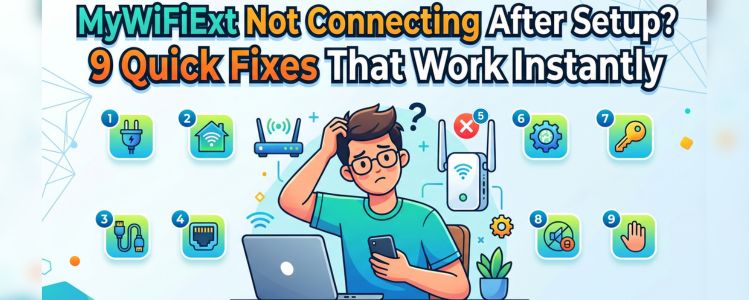
Setting up a WiFi extender is supposed to improve your internet coverage-but what if it connects during setup and then suddenly stops working? If your MyWiFiExt device is not connecting after installation, don’t worry. This is a common issue, and in most cases, it can be fixed quickly.
In this guide, we’ll walk you through 9 proven fixes to restore your connection and complete mywifiext setup properly using 192.168.1.250.
Why MyWiFiExt Stops Connecting After Setup
Before jumping into fixes, it’s important to understand the possible reasons:
- Weak signal between router and extender
- Incorrect setup configuration
- Firmware issues
- IP address conflicts
- Network interference
Identifying the cause helps you apply the right solution faster.
1. Restart Your Extender and Router
A simple reboot can resolve temporary glitches.
Steps:
- Turn off your router and extender
- Wait for 60 seconds
- Turn on the router first
- Then power on the extender
This refreshes your network connection.
2. Check Extender Placement
Placement is critical for stable connectivity.
Best Practice:
- Place extender halfway between router and dead zone
- Avoid thick walls and metal objects
- Keep away from electronic interference
Poor placement is one of the main reasons for connection failure.
3. Reconnect Using Correct IP Address
Sometimes, the extender disconnects due to incorrect setup access.
Fix:
- Open a browser
- Enter 192.168.1.250 in the address bar
- Complete setup again
Make sure you are connected to the extender network while doing this.
4. Repeat MyWiFiExt Setup
If the initial setup was incomplete, reconnect the extender.
Steps:
- Access setup page via 192.168.1.250
- Start mywifiext setup again
- Select your main WiFi network
- Enter the correct password
5. Check WiFi Credentials
Incorrect WiFi password can cause connection failure.
What to Do:
- Double-check router password
- Re-enter credentials during setup
- Avoid typing errors
6. Update Firmware
Outdated firmware can create compatibility issues.
Steps:
- Log in to extender settings
- Check for firmware updates
- Install the latest version
Updated firmware improves performance and stability.
7. Clear Browser Cache
If you’re facing connection or login issues:
- Clear browser cache and cookies
- Restart browser
- Try accessing setup again
8. Switch Device or Browser
Sometimes the issue is device-related.
Try This:
- Use another smartphone or laptop
- Switch browser (Chrome, Edge, Safari)
9. Reset the Extender (Last Option)
If nothing works, perform a factory reset.
Steps:
- Press and hold reset button for 10–15 seconds
- Wait for reboot
- Set up extender again using mywifiext setup
Common Mistakes to Avoid
- Placing extender too far from router
- Using wrong IP address
- Skipping setup steps
- Not updating firmware
Avoiding these mistakes ensures smooth connectivity.
Pro Tips for Stable WiFi Extension
- Keep firmware updated
- Use dual-band extender if possible
- Restart devices periodically
- Monitor network performance
When to Contact Support
If your extender still won’t connect:
- Hardware may be faulty
- Firmware may be corrupted
- Advanced configuration issues may exist
In such cases, contact Netgear support.
Final Thoughts
If your MyWiFiExt is not connecting after setup, it’s usually due to minor configuration or placement issues. By following these 9 quick fixes and accessing settings via 192.168.1.250, you can easily complete your mywifiext setup and restore your WiFi connection.
Take your time, follow each step carefully, and you’ll enjoy seamless internet coverage across your home in no time.
